Configuring Web Warehouse
You need to add IMC as a supplier, configure an interface for it, and add the IMC button to the Catalogs toolbar.
This topic includes the following configuration steps:
Step 2 - Add Web Warehouse as a Supplier
Step 3 - Configure the Supplier Interface
Step 4 - Add Web Warehouse to the Quick Launch and Smart eCat
Step 1 - Check Your License
If you would like to add this feature, please contact the R.O. Writer Sales team to update your license.
Step 2 - Add Web Warehouse as a Supplier
You need to create a supplier record for
Complete these steps:
- Open R.O. Writer Configuration
 .
. - Click Configuration menu > Parts > Suppliers. The Suppliers window opens.
- Click inside the Supplier Code field and type in the three-character code you want to use for
- Click the Add button at the very bottom of the window. This saves the supplier.
- Select the
- Enter the supplier information in the middle of the window.
- Click the Save button to save the supplier settings.
- Click Close to exit.
Step 3 - Configure the Supplier Interface
To connect to and retrieve parts from the supplier’s catalog, you must configure an interface for the supplier.
R.O. Writer cannot provide you with your account information; you must obtain your account information directly from the supplier.
To Configure the Supplier Interface
Complete these steps:
- On the Supplier window, select the
- In the Supplier Interfaces section, click the Add button.
-
In the Supplier Interface dropdown list, select Web Warehouse.
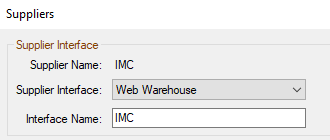
- The Connection Information for
- Type in the Interface Name.
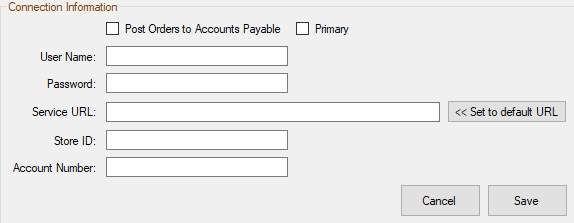
- Enter the connection information for
- User Name
- Password
Service URL
The URL is the website or network location of the supplier's catalog.
Click the Set to Default button. R.O. Writer enters the correct URL for the supplier in the field automatically. Use the default URL unless your account uses a different URL.
- Store ID
Account Number
- Check the Primary box to make this the primary interface for IMC.
- Check Post Order to Accounts Payable.
-
Click Save. The main Suppliers window appears with the
- Click the Set Coverage File Download Options button to determine how coverage files download. Automatic is recommended.
- Click Save to save all your changes.
Step 4 - Add Web Warehouse to the Quick Launch and Smart eCat
After the
To Add Web Warehouse to the Main Window
Complete these steps:
- Open R.O. Writer Configuration .
- Click File menu > General Options.
-
Check Show Catalogs Group, >
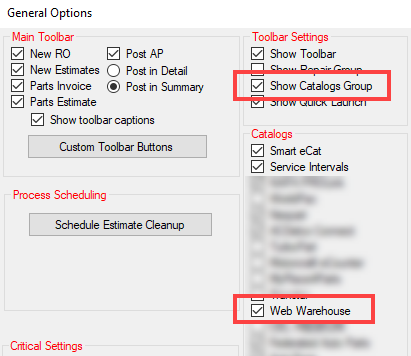
- Click OK. The General Options window closes.
- If the R.O. Writer main module is open, close and reopen it.
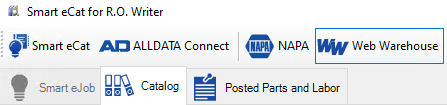
- The Web Warehouse button appears in the:
- Quick Launch.
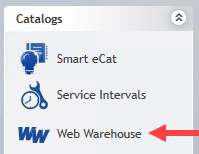
Smart eCat toolbar.
- Quick Launch.
You are now ready to use