Checking History in Other Stores
When the Central Service reporting application has been integrated with R.O. Writer, you can search customer history from other stores in your network. You can click Central Service Lookup buttons throughout R.O. Writer to access information from other shops.
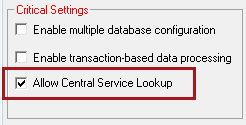
Enabling Central Service Lookup
To make the lookup buttons appear, open Configuration. Click the File menu > General Options > Critical Settings > Allow Central Service Lookup box.
Central Service Lookup in the Customer List
The Central Service Lookup button on the Customer List window allows you to search for customers in other shops.
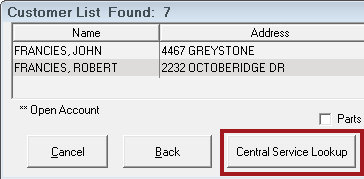
If you add a customer from another shop to a ticket, that customer information is added to your database.
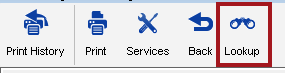
Central Service Lookup in Customer History
A Lookup button appears in the History Summary toolbar in Local History.
Searching for Customers in Central Service Lookup
When you click a Central Service Lookup button, the Central Service Lookup window opens to the Search tab. By default, the original search criteria appear in the Business field.
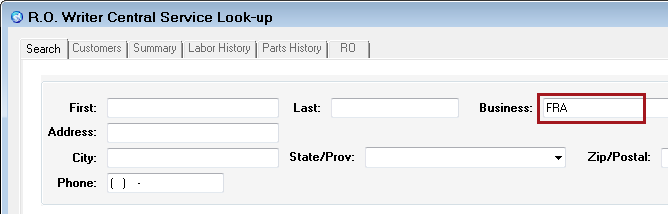
If you search by Business, the search results include matches in the first name or the last name as well as the business name.
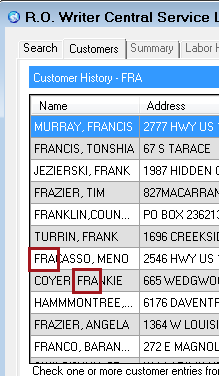
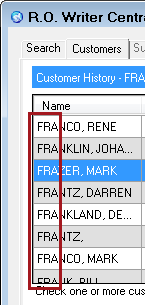
If you move the search criteria to the Last Name or First Name field, the search results contain only matches to the beginning of the last name or first name.
Before you click Search, you can enter information into the available fields to narrow the search. On any tab, you can click
- Reset Search to return to the search screen with no search criteria entered.
- Cancel to exit Central Service Lookup.
Search Results
Each row includes the customer name and vehicle information that has a ticket in history in your Central Service network. There are two columns in addition to the customer and vehicle columns:
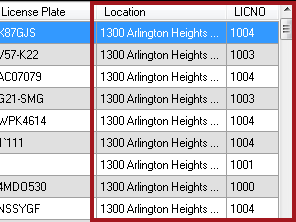
- The Location column displays the address associated with the license number in the R.O. Writer licensing server.
- The street address displaying may be different than the shop's address. Shops can enter their street address in the Configuration module of their local R.O. Writer installation, which may not be the address associated with the license.
- The LICNO column displays the license number of the shop.
- The Location column displays the address associated with this number.
Opening Repair Order from Other Locations
Complete these steps:
- Select a single row and click the Repair Order Summary button. Central Service Lookup begins retrieving the data for the customer. “Getting data” appears below the list.
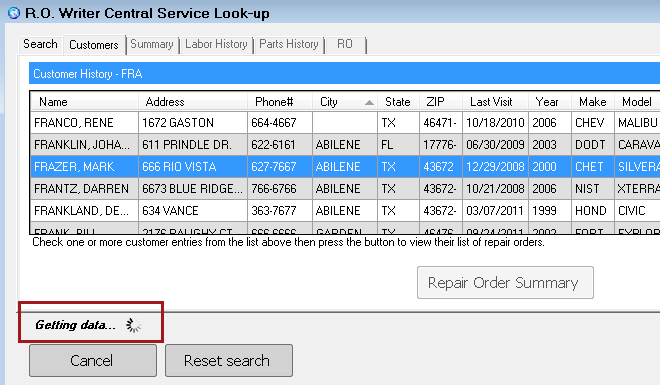
- The customer information opens to the Summary tab, which displays a list of repair orders associated with the customer and the vehicle.
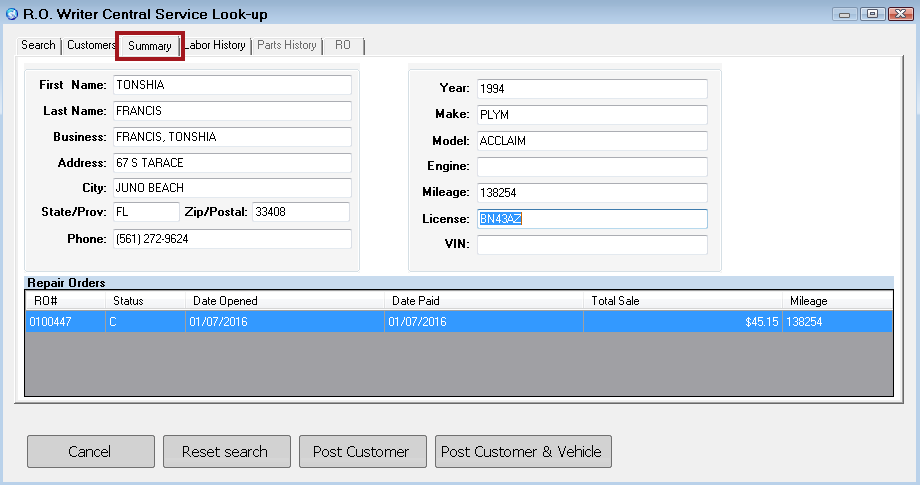
NOTE: The Status of C is a closed repair order and the Status of O is a saved estimate.
- Double-click a repair order in the list.
- The RO tab opens displaying the details of the selected repair order.
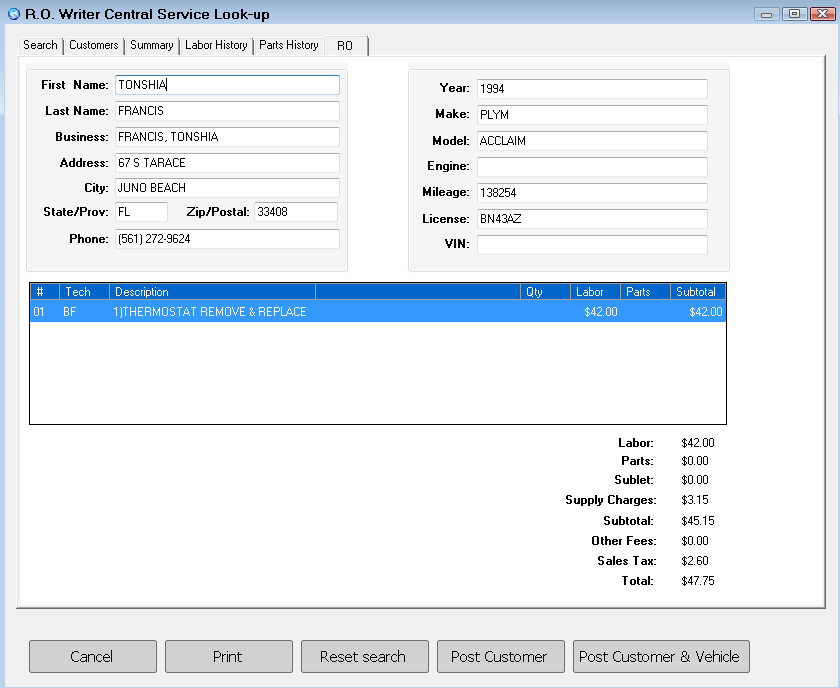
To Print a Repair Order
On the RO tab, click the Print button. The repair order prints directly to the printer selected in the Printer Locations Configuration setting.

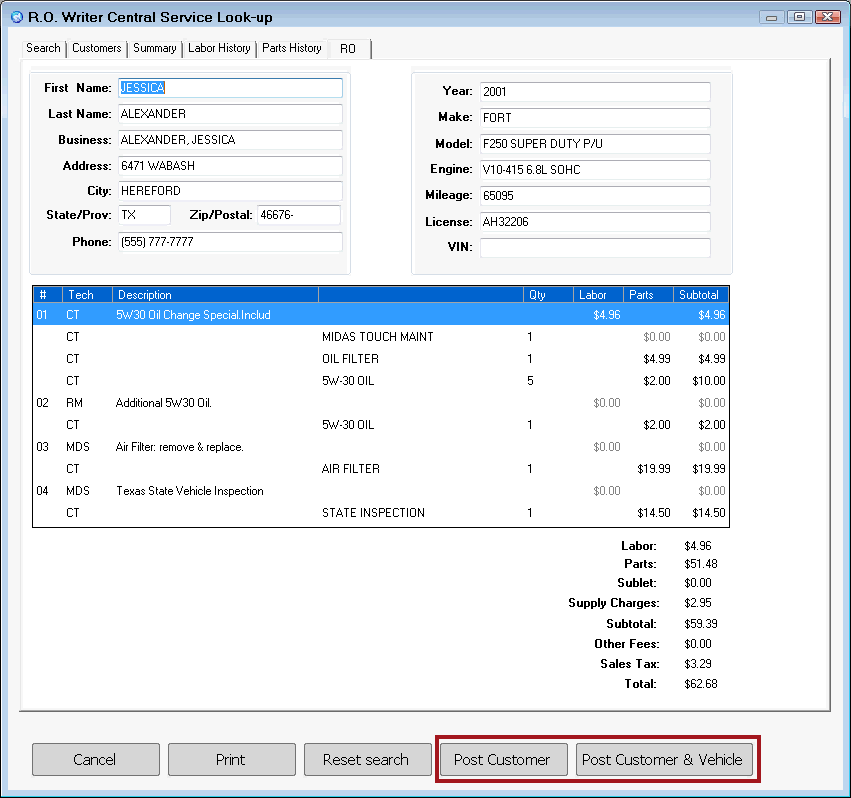
Adding Customers from Other Stores to the Shop
If you want to add a customer from another shop to the current shop, click the Post Customer or Post Customer & Vehicle button on the Summary, Labor, Parts, or RO tabs.
If the customer is already in your shop, the following prompt appears:
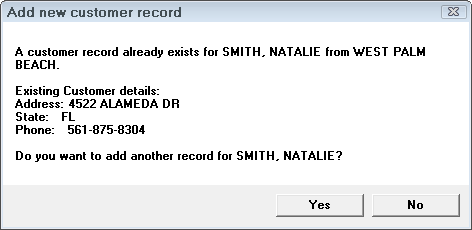
- Click Yes to save over your shop's information.
- Click No to cancel the addition. At this point, you can create a ticket and search for the customer in your current shop.
To Add Only the Customer to Your Local Shop
If you click Post Customer, the Customer List appears with the selected customer in it. After you select the customer, you will be prompted to add a vehicle on the Vehicle List window.
To Add the Customer and Vehicle to Your Local Shop
If you click Post Customer & Vehicle, the Customer List appears with the selected customer in it. After you select the customer, the vehicle appears on the Vehicle List window.
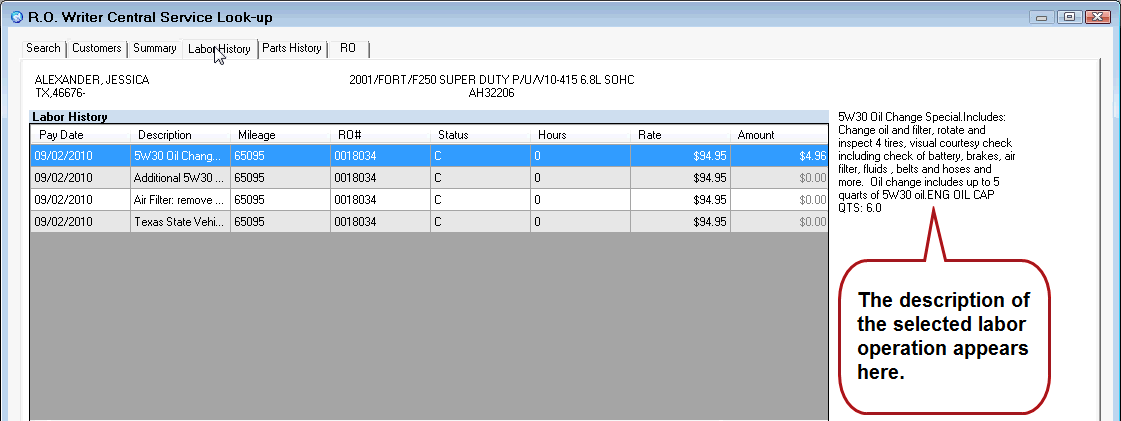
Retrieving All Labor Associated with the Customer and Vehicle
Click the Labor History tab. The list displays all labor operations from all repair orders.
Retrieving All Parts Associated with the Customer and Vehicle
Click the Parts History tab. The list displays all parts from all repair orders.