If you are a part of a multi-store operation, you can transfer parts from one store to another.
NOTE: To transfer parts between stores, you do not need to set either store to use multiple databases or use Central Office.
Incoming Transfers
Incoming transfers are handled just like parts from any other supplier. An Accounts Payable transaction is created. The other store, or stores, have to be added to the list of suppliers.
To Create an Incoming Transfer
Complete these steps:
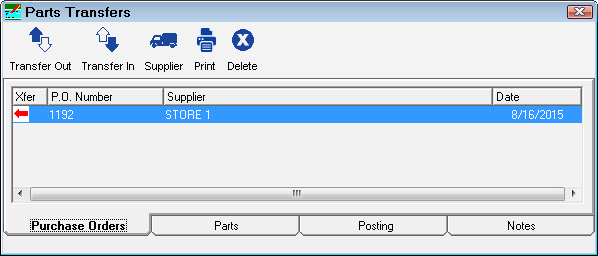
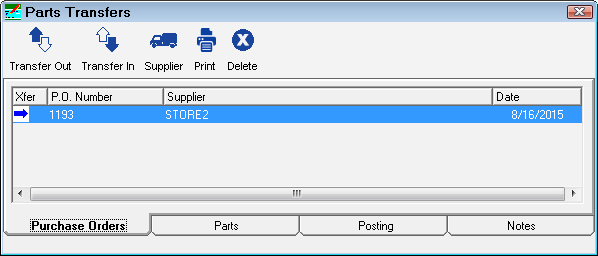
- Click the Transfers button in the toolbar
 .
. - Click the Transfer In toolbar button and select the store the part is being received from.
- The New Purchase Order window opens. The assigned number appears on the P.O. Number field.
-
If the field is editable, you can enter another number. R.O. Writer checks to see if the number entered is available.

-
Click OK to create the incoming transfer on the Purchase Orders tab.
To Add Parts to the Incoming Transfer
The next step is to add the parts to the transfer.
Complete these steps:
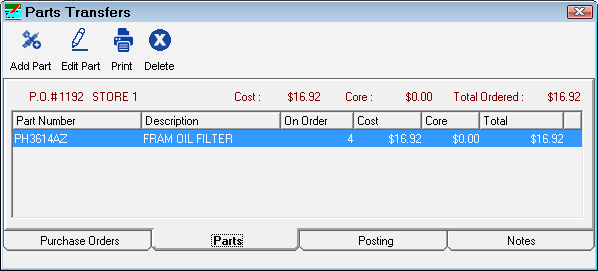
- Click the Parts tab of the Parts Transfers screen.
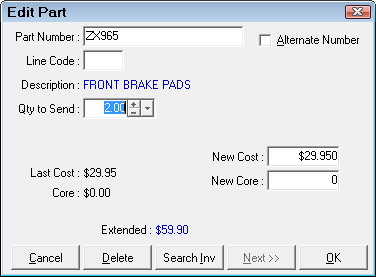
- On the Parts tab, click the Add Parts button. The New Parts screen opens.
- Search for the part t to be transferred in.
- Enter the part number, or the alternate part number (check the Alternate Number box), in the Part Number field and click the Search Inv button.
- If the search does not find the part, click the New Part button and add the part to inventory.
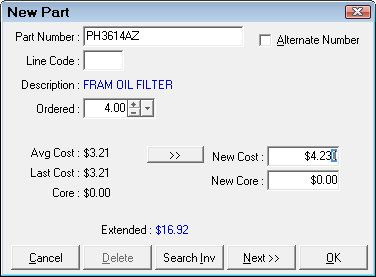
- When the part is found, select it and click OK. The New Part screen updates with the part description and pricing information.
- Adjust the quantity ordered as required.
- The extended price is calculated based on the quantity.
- The default unit cost is the cost of the last purchased item.
- To use the average cost, click the button to the right of the Avg Cost field. The New Cost is the Avg Cost.
-
Click OK to add the part to the transfer. You can also click Next to add more parts.
NOTE: Clicking Cancel voids the entry.
To Edit Parts on a Transfer
Complete these steps:
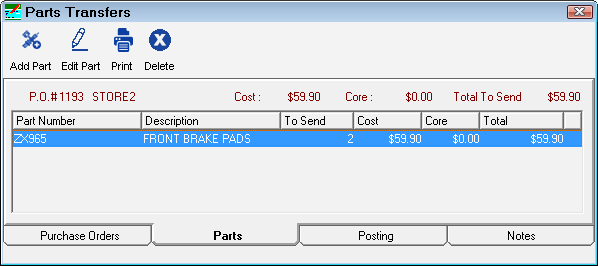
- Select the part on the Parts tab.
- Click the Edit Part toolbar button or double-click on the part to open it. (To delete a part, select the part and click the Delete button.)
- Click the Print toolbar button to print the Incoming Transfer Receipt.
To Receive Incoming Parts
Complete these steps:
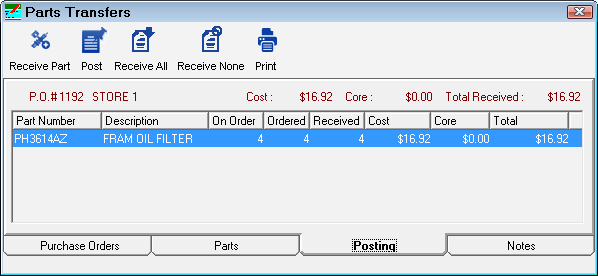
- Click the Posting tab.
- To receive individual parts, select the part and click the Receive Part toolbar button.
- To receive all parts, click the Receive All toolbar button.
-
To receive none of the parts, click the Receive None toolbar button.
To Post Incoming Parts
You can post the incoming parts after the parts have been designated as received.
Complete these steps:
-
Click the Post button to post the parts to inventory. A warning message appears.
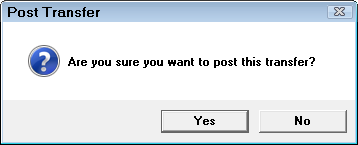
- Click Yes to proceed.
- You are prompted to create an Accounts Payable transaction.

-
Click Yes to post the transfer to an Accounts Payable transaction.
-
The Post Accounts Payable Invoice window appears with the details of the transaction.
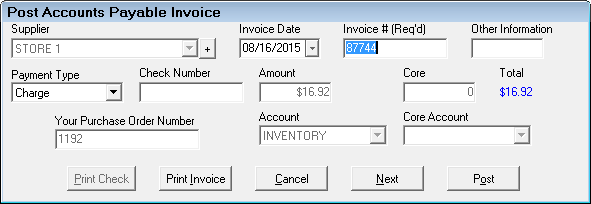
- Click the Post button.
- You are prompted to print a transfer receipt.
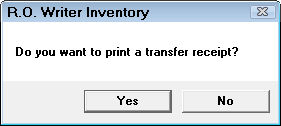
- Click Yes to print the Incoming Transfer Receipt.
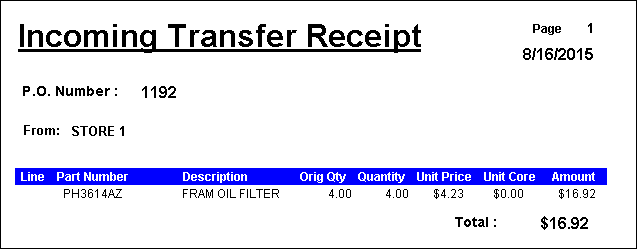
Incoming Transfer Receipt
Outgoing Transfer
Outgoing transfers decrease inventory in the first store and can create an Accounts Payable transaction with a negative value.
At the end of a month, the store that had the most transfers out will be due money (negative Account Payable balance), and the other store will owe money (positive Accounts Payable balance).
To Create an Outgoing Transfer
Complete these steps:
- Click the Transfers toolbar button .
- Click the Transfer Out toolbar button and select the store from whom the part is being sent.
- The New Purchase Order number window appears.
-
If the field is editable, you can enter another number. R.O. Writer checks to see if the number entered is available.
-
Click OK to create the outgoing transfer.
To Add Parts to the Outgoing Transfer
Complete these steps:
- Click the Parts tab of the Parts Transfers screen.
- On the Parts tab, click the Add Parts button. The New Parts screen opens.
- Search for the part to be transferred out.
- Enter the part number, or the alternate part number (check the Alternate Number box), in the Part Number field and click the Search Inv button.
- If the search does not find the part, click the New Part button and add the part to inventory.
- When the part is found, select it and click OK. The New Part screen updates with the part description and pricing information.
- Adjust the quantity ordered as required.
- The extended price is calculated based on the quantity.
- The default unit cost is the cost of the last purchased item.
- To use the average cost, click the button to the right of the Avg Cost field. The New Cost is the Avg Cost.
-
Click OK to add the part to the transfer. You can also click Next to add more parts.
NOTE: Clicking Cancel voids the entry.
To Edit Parts on a Transfer
Complete these steps:
- Select the part on the Parts tab.
- Click the Edit Part toolbar button or double-click on the part to open it. (To delete a part, select the part and click the Delete button.)
- Click the Print toolbar button to print the Outgoing Transfer Receipt.
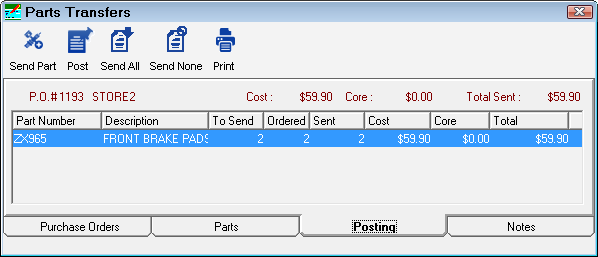
To Send Parts
Complete these steps:
- When shipping the outgoing parts, click the Posting tab.
- To send individual parts, select the part and click the Send Part toolbar button.
- To send all parts, click the Send All toolbar button.
-
To send none of the parts, click the Send None toolbar button.
To Post Parts
You can post parts after they have been designated as sent.
Complete these steps:
-
Click the Post button to reduce the quantity on hand in Inventory. A warning message appears.
- Click Yes to proceed.
- You are prompted to create an Accounts Payable transaction.
-
Click Yes to post the transfer to an Accounts Payable transaction.
-
The Post Accounts Payable Invoice window appears with the details of the transaction.
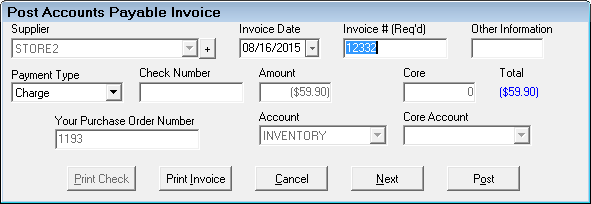
- Click the Post button.
- You are prompted to print a transfer receipt.
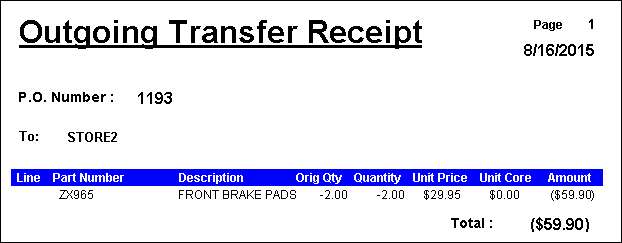
- Click Yes to print the Outgoing Transfer Receipt.
Outgoing Transfer Receipt