Inserting Data Fields
There may be instances when information pertaining to a customer or a vehicle is needed in a document, or perhaps a date. Instead of entering this information for each customer, data fields may be entered.
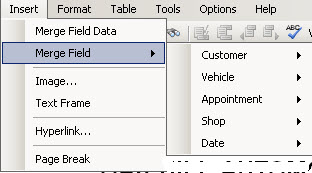
The Merge Field entry on the Insert menu allows you to add many different kinds of data.
To Enter a Data Field
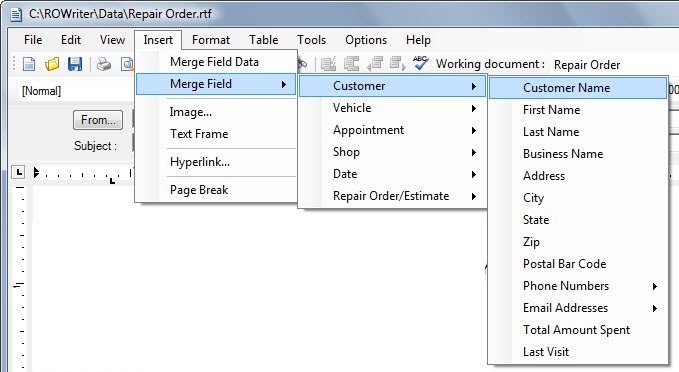
To enter a data field in a document, position the insertion point at the location in the document where the field is to be inserted. Click Insert menu > Merge Field > select the category > select the field name and format if needed.
Data fields may also be entered by positioning the insertion point at the location in the document where the field is to be inserted, and double-clicking on the desired field from
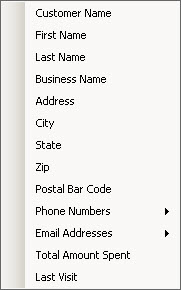
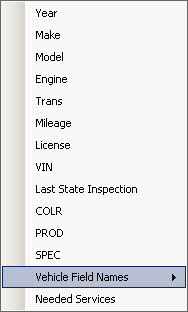
The following data fields are available:
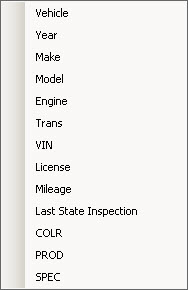
The Repair Order/Estimate fields are useful on the Estimate PDF or Repair Order PDF templates used when emailing estimates and repair orders to customers. The type is to identify either an estimate or a repair order.
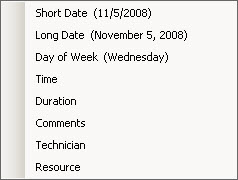
Customer Vehicle Menu Options
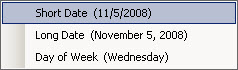
Appointment Date Menu Options
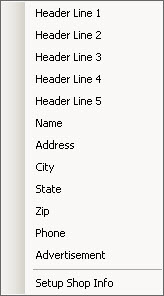
To Change the Shop Information
The default shop information from the software license automatically becomes the header that prints on reports and repair orders. This is also the default information for documents you create in the Advanced Word Processor until you change it.
Select Setup Shop Info to customize the shop information specifically for the Advanced Word Processor and enhanced emails.
When the Shop Information window opens, the Use Default Shop Information checkbox. This displays the shop information but disables the fields so they cannot be edited.
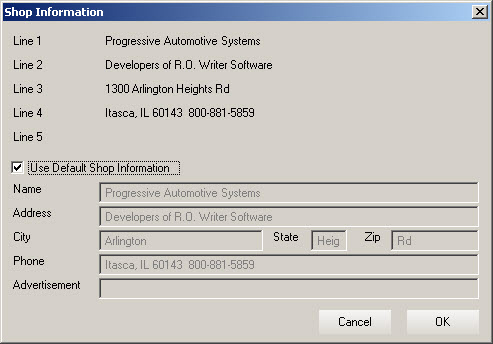
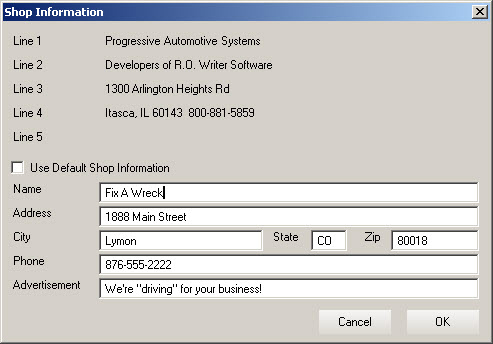
Uncheck the Use Default Shop Information box to enable the shop information fields.
To Insert Images
To insert an image from a saved file,
- Position the insertion point at the location in the document where the image is to be inserted.
- Click Insert menu > Image from the menu, and identify the file to be inserted.
You may need to change the Files of Type in the dropdown list if the file you are inserting is a different type than is shown.
You will need to use a picture editing program to re size the image if needed.
To Insert Hyperlinks
Click Insert menu > Hyperlink.
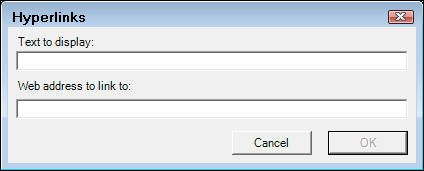
Enter the Text that will display on the screen to the reader and the web address. Web addresses must include the “http://” before the web address that begins “www.”; for example: "http://www.rowriter.com").
WARNING! Web links will not work without the “http://” prefix.
When the customer clicks on the link in the email they receive, the link should open their default web browser to that web address. The hyperlink is inserted at the cursor position.
To Insert Text Frames
You can frame text to emphasize it. Text frames work the same as text boxes in Microsoft Word and can be moved by dragging the text frame to a different location.
To Insert Page Breaks
If more than one page is required, a Page Break can be inserted.