Accounts Receivable enables you to post payments to customer accounts.
Entering the Payment Amount and Date
Complete these steps:
- Click the Post Payment toolbar button
 .
. - The search window opens.
- Search and select the customer to whom the payment will be posted.
-
When the customer has been identified, the Post A/R Payments window appears.
The customer’s information is listed above the table. Click the Edit Cust toolbar button to edit the customer information.
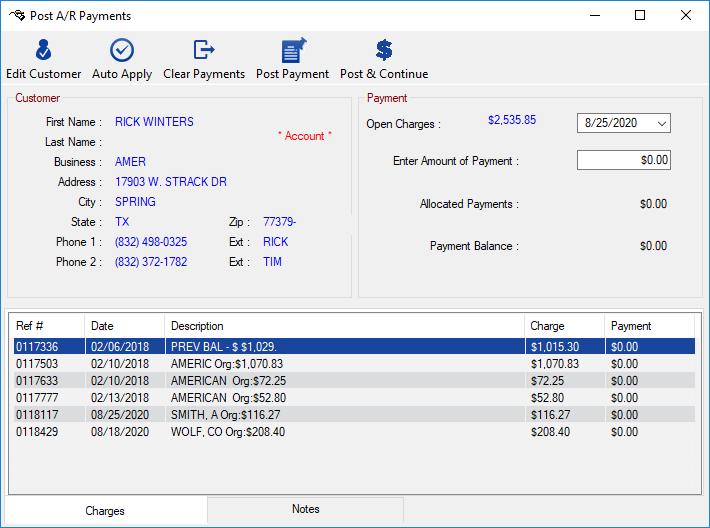
- The Open Charges field shows the total for all outstanding charges.
- All outstanding charges are listed in the Payments section
- The date is today's date by default. Edit the date if the payment date should be different than today's date.
- In the Enter Amount of Payment field, type in the payment amount.
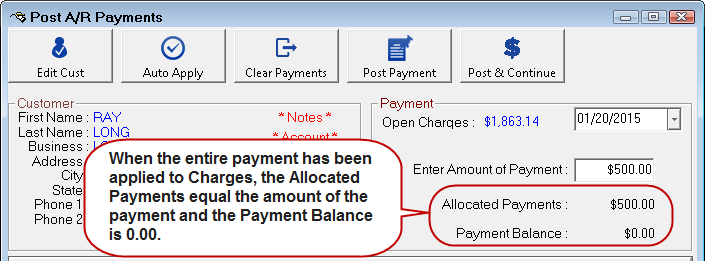
- When the payment amount is entered,
- The Allocated Payments will be $0.00 and
- The Payment Balance will be the payment amount.
Apply Payments to Charges
There are two methods to apply a payment to charges: automatically or manually.
NOTE: To clear what has been applied to the charges and begin again, click the Clear Payments toolbar button.
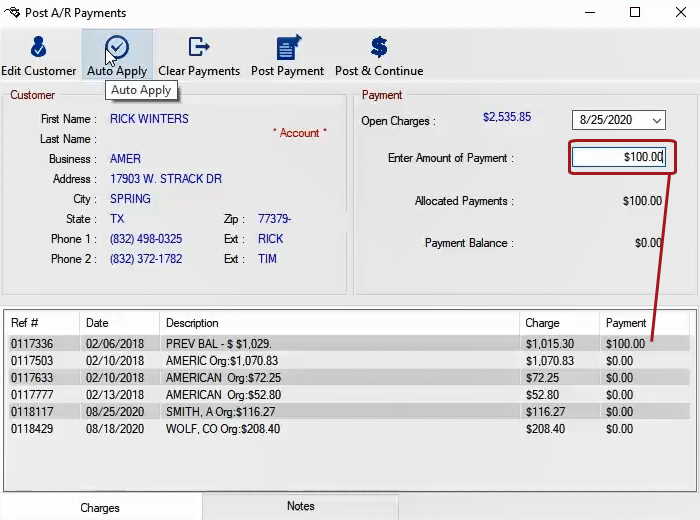
To Auto Apply Payments to Charges
The Auto Apply toolbar button  applies the payment in the following order until all of the payment has been applied:
- Finance charges
- The oldest charge
- Down the list by age of the charge .
At that point, the Allocated Payments will equal the amount of the payment, and the Payment Balance will be $0.00.
The amount to be posted to each charge will be shown in the payment column for that charge. Now, you can post the payment.
To Manually Apply Payments to Charges
Complete these steps:
-
To manually select the charges to which the payment is applied, double-click on the desired charge. A payment window pops up.
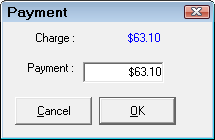
- Enter the amount of the Payment to be applied to the charge and click OK.
- The amount is applied to the selected charge and displays in the Payment column.
- The Allocated Payments amount reflects the amount entered.
- The Payment Balance reflects the remaining balance of the payment to be applied to charges.
-
Continue to select charges and apply the balance of the payment until the Payment Balance equals $0.00.
Posting AR Payments
Complete these steps:
- Click the Post Payment button or click the Post & Continue button.
- The Post & Continue button allows you to post a payment and remain on the same customer's post payment screen without exiting.
- To clear what has been applied to the charges and begin again, click the Clear Payments toolbar button.
- When the Post Payment button has been selected, the Accounts Receivable Payment Details payment window appears.
- You can enter a Reference #
- The Date is automatically today's date
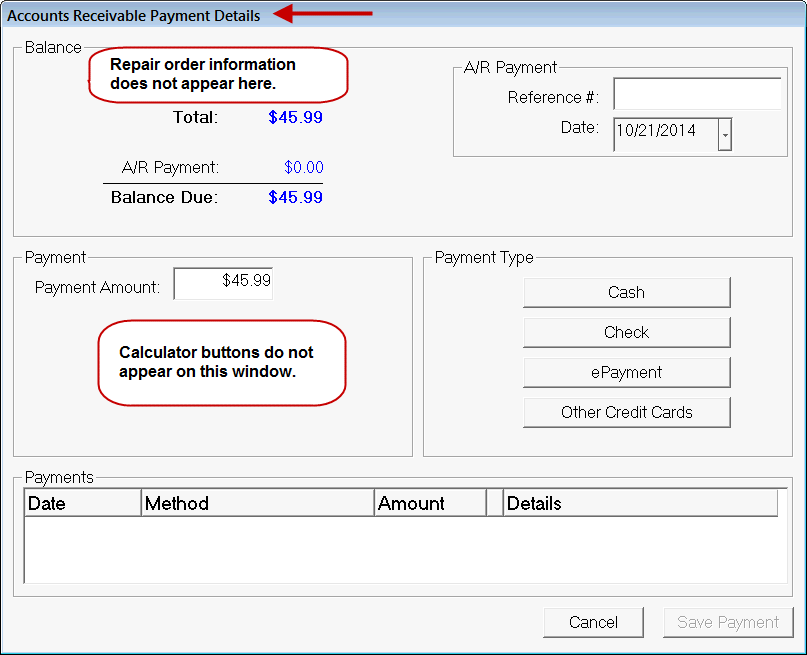
- Choose the payment method and process it.
- After the payment is processed, click the Save Payment button. The customer account is updated with the payment information.
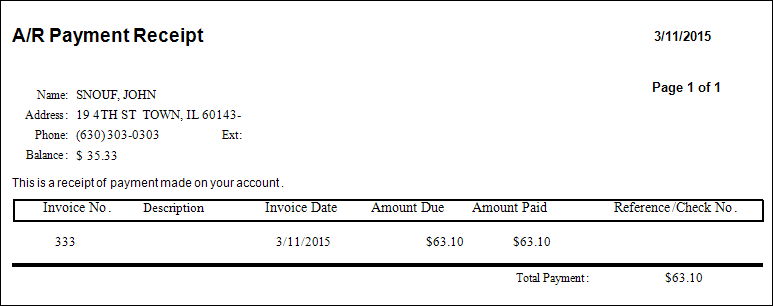
- You are prompted to print a customer receipt.
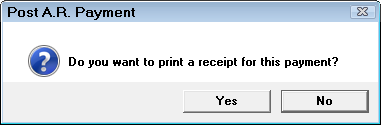
- Click Yes and the receipt prints.
Rolling Back Payments
If you made a mistake in posting an Accounts Receivable payment, you can undo it and re-post the payment. In the Accounts Receivable module, select Edit Accounts, and select the customer you posted the incorrect payment to. Click the Rollback Payment button and enter the date the payment was posted and click the OK button.
NOTE: If more than one payment was posted on that date, all payments will be rolled back and you will have to re-post all of them.
The charges will reappear on the customer’s account and will no longer show as paid on reports. If a partial payment was made, you will have two charges for the same repair order.
Select the charge with the correct previous balance (The balance before the incorrectly posted payment was applied.) and double-click to edit the amount to include both charges. You can then double-click on the duplicate and click the delete button to combine them into one charge.
If you are using PayPros ePay, click the following link: Rolling Back Payments to Customer Accounts.