Posting Purchase Orders
You need to receive the parts before you can post the purchase order.
Verifying the Part
To receive a part, you first have to open the part on the purchase order so that you can verify what was ordered compared to what was delivered.
Complete these steps:
-
Click the P.O. Mgmt toolbar button
 . A list of all purchase orders display.
-
Select the appropriate purchase order from the list and click the Posting tab. A list of the parts on the purchase order displays.

- Double-click on parts to open them and verify.
Receiving Parts on the Posting Tab
On the Posting tab, click the receiving toolbar buttons to receive or not receive parts. In general, you receive parts when the information, part number, quantity, and cost match what was received from the vendor.
|
Button |
Description |
|---|---|
|
|
Click the Receive Part toolbar button to receive the part selected in the list. Only that parts is received. |
|
|
Click the Receive All toolbar button to receive all parts in the list if the information, part number, quantity, and cost match what was received from the vendor. You can also click if some information is incorrect, but most of the parts received are correct. |
|
|
Click the Receive None toolbar button to receive none of the parts in the list if the information, part number, quantity, and cost do not match what was received from the vendor . You can also click even if some information is correct, but most of the parts received are incorrect. |


To correct any information about individual parts, you can modify the part information on the New Part window.
Complete these steps:
- Select the desired part from the list.
-
Click the Receive Part toolbar button or double-click the part to open it.
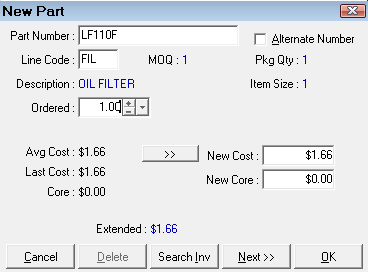
- Modify information such as number ordered, number received, cost, and core cost.
- Click OK to save the changes.
To Change the Item to Another Part
To change the item being received to another part,
- Select the desired part from the list.
- Click the Receive Part toolbar button or double-click the part to open it.
- Enter a Part Number and click the Search Inv button.
- Check Alternate Number to make the number entered the Part Number field the alternate part number.
- Select the new part from the selection list.
- Complete the information on the new part.
- Click OK. The On-Order information is corrected for the old part and the new part.
To Delete the Part from the Order
To delete the part from the order, select it in the list and click the Delete toolbar button ![]() . The part is removed and the on-order quantity is adjusted by the quantity on the purchase order.
. The part is removed and the on-order quantity is adjusted by the quantity on the purchase order.
NOTE: You can use this method to receive all parts, however, it is more time-consuming.
To Adjust the Cost of the Received Part
The cost of the parts defaults to the last purchase price. The new cost may be changed to the average cost by double-clicking the part to open it. The Receive Part window opens.
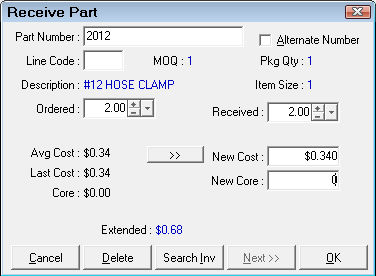
To enter the New Cost, click the double arrow (>>) button to use the average cost or type it in the New Cost field manually.
Posting Parts to Inventory
When all corrections have been made and the list is ready, the purchase order items must be posted to Inventory, which updates the inventory records with the quantity and cost of the parts received.
Complete these steps:
- Click the Post toolbar button. You are prompted to confirm that you want to post this purchase order. Click Yes.
-
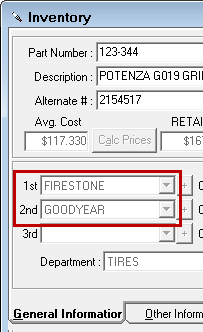
If Prompt to Change Primary Suppliers When Posting P.O. is checked in the PO Transfer and Other Parts Options Configuration setting, you are prompted to see if you want to make the new supplier the primary vendor (in Inventory) of the parts being received.
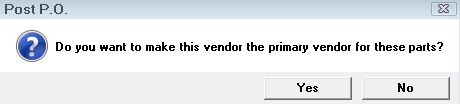
- Click Yes to make the new supplier the primary vendor; the old primary vendor is moved to the second supplier.
-
Click No and the new supplier is entered as the second supplier automatically.
-
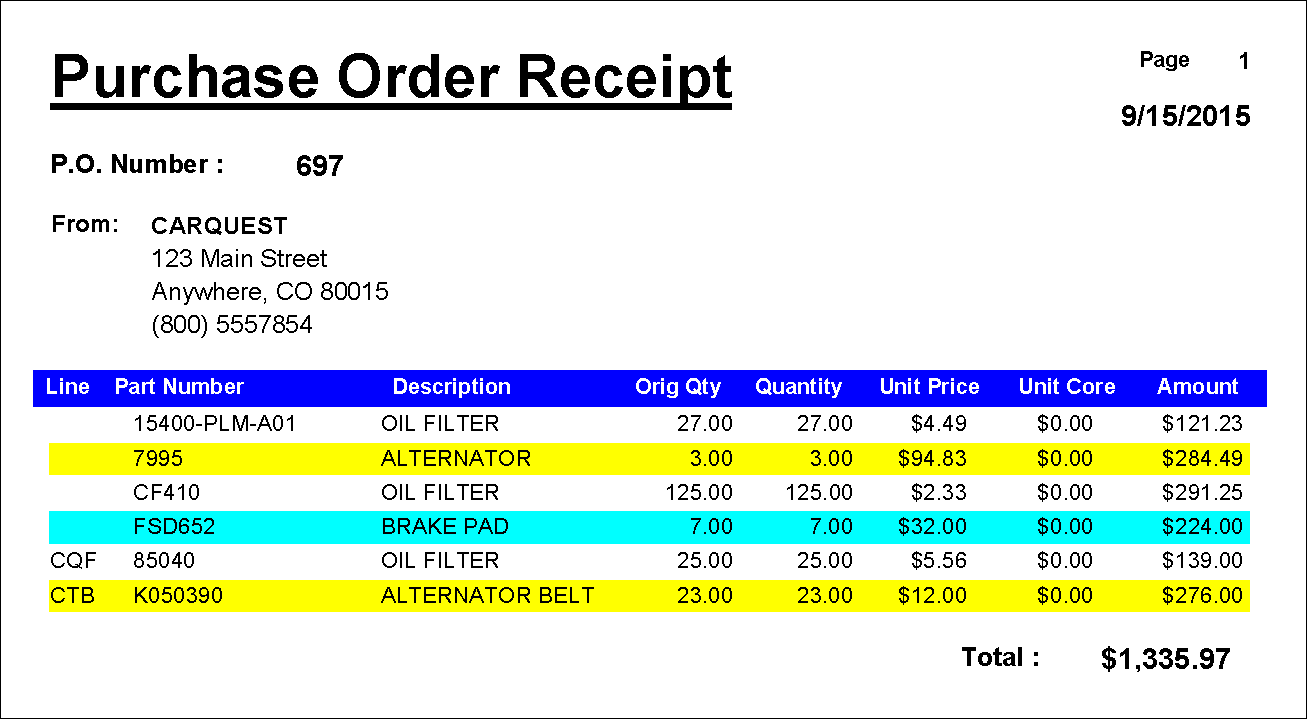
The final step is to print a purchase order receipt.
- If a part is posted when the quantity received is less than the quantity ordered, the purchase order remains open and displays the part's un-received quantity.
You can- Leave the purchase order open if a backorder is expected.
- Create another purchase order from these items.
- Delete the purchase order.
- If a part received on a purchase order has no record in Inventory, a message appears notifying you that the part number is not on file.
- The purchase order with that part remains open.
- To complete the purchase order, you can
- Add the part to inventory.
- Delete the part from the purchase order.
- Delete the purchase order.
- The purchase order with that part remains open.
Post To AP
There is also an option to create an Accounts Payable transaction. If selected, this posts the transaction by summary.