Custom Toolbar Button for a Web Page
The custom toolbar feature has been modified to allow you to program a button to open a specific web page.
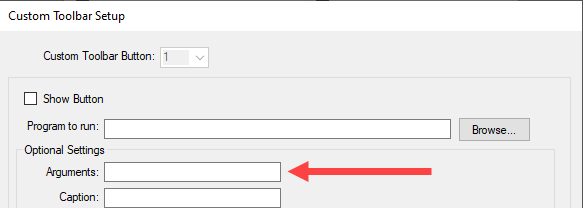
You have always been able to enter the EXE of the browser in the Program to Run field. In R.O. Writer 3.1, a new Arguments field was added. Enter the exact URL of the web page in the Arguments field.
When the user clicks the toolbar button, the browser in the Program to Run field opens to the web page specified in the Arguments field.
To Add a Custom Toolbar Button for a Web Page
Complete these steps:
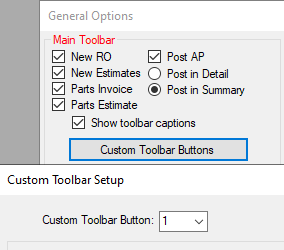
- Open Configuration and click File menu > General Options.
- On the General Options window, click the Custom Toolbar Buttons button.
-
Select 1, 2, or 3 in the Custom Toolbar Button dropdown list. The Edit button activates.
- Remember which number you assign to each button so that you can select it when you want to edit that button.
- Click the Edit button. The fields become active.
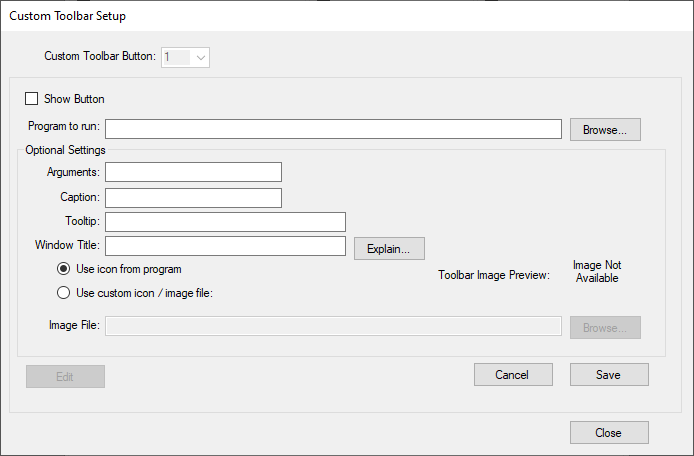
- Check Show Button to show the button on the main toolbar.
- In the Program to Run field, enter the full location and name of the EXE file of the browser.
For example, to open Chrome, enter “C:\Program Files\Google\Chrome\Application\chrome.exe”. - In the Arguments field, enter the specific web page you want the toolbar button to open.
- For Chrome, enter “--app=https://www.[URL].com”
- For Firefox, enter “www.[URL].com”
- For Edge, enter “www.[URL].com”
- Select the image for the toolbar button:
- If you select Use Icon From Program, the browser’s icon is used.
Select Use Custom Icon/Image File and click the Browse button to select an image file.

- Enter the rest of the optional fields as desired.
- Click Save to save your settings.
- Click Close to return to the General Options window.