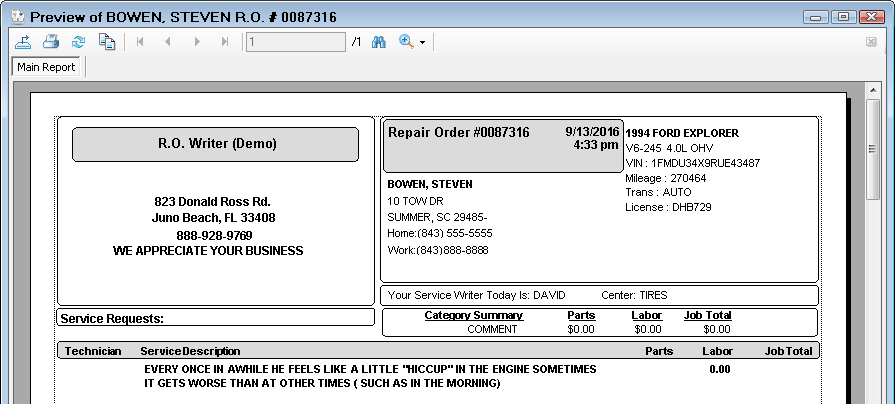
Emailing Tickets
The easiest way to email an open ticket is to open the ticket and print the ticket to email. The process is different from emailing the customer a message about the ticket. That process uses the Email toolbar button and a PDF of the ticket is not attached to the email message.
When you want to email an open ticket, you use the print toolbar buttons and choose the email options.
Emailing an Open Ticket
This method creates a PDF of the ticket and attaches it to an email automatically.
Required Configuration
To email an open ticket, there must be an outgoing email configured in Email Setup.
To Email an Open Ticket
Complete these steps:
- Open the ticket.
- Click the Print RO
 or Print Est buttons
  in the toolbar.
 - On the Print options window, select the E-Mail option under Destination.
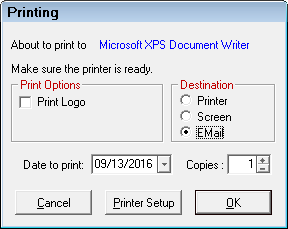
- Click OK. If the customer has no email address on file, you are prompted that the customer has no email address on file and asked if you want to continue.
- R.O. Writer does the following:
- Creates the PDF of the ticket.
- The format is determined by the Form Types selected in Configuration for estimates and repair orders.
- The PDF is named with the ticket number.
- Creates the email message.
- The content of the email is determined by the template selected for the ticket type in Email Setup.
- The Repair Order PDF template is used for repair orders.
- The Estimate PDF template is used for estimates.
- Attaches the PDF to the email.
- Creates the PDF of the ticket.
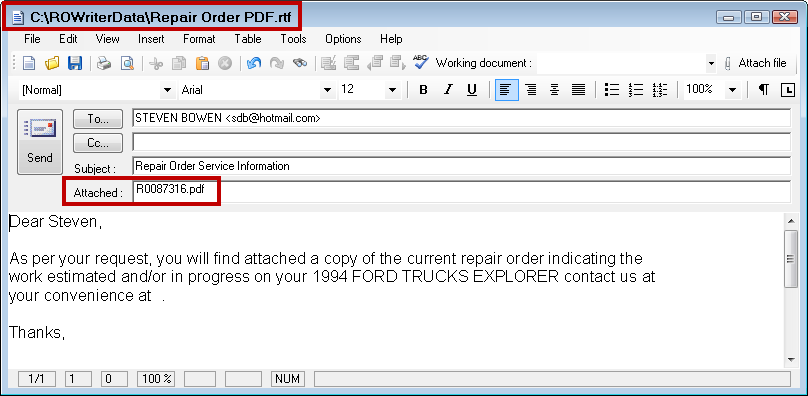
- The email window appears.
- The title bar displays the name of the template.
- The To line displays the customer's default email address or is blank so that you can enter the address.
- The Attached line shows the name of the PDF.
- You can edit the email content.
- Click the Send button.
Print to PDF and Attach to an External Email
You can also print the ticket to PDF, then email the PDF to the customer using your preferred email provider.
Complete these steps:
- Open the ticket.
- Click the Print RO or Print Est buttons in the toolbar.
- On the Print options window, select the Screen option under Destination.
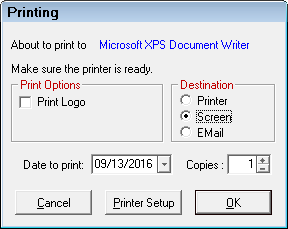
- Click OK. The ticket prints to the print preview window on the screen.
- Click the Export toolbar button
 .
. - The Save As Type is already set to PDF.
- Browse to the directory you want to save the file and enter a different file name.
- Click Save.
- Open your external email program and select the PDF as an attachment.