If you are using the Employee Time Clock to track employee time, you can use the Edit Time Cards function to edit and correct the time cards of employees.
Edits are applied immediately. Be cautious when editing time cards. Then, check the results by running the Employees Time Sheet report to verify your changes.
NOTE: Editing time cards can be password-protected in Configuration so that only certain people can edit time cards.
Accessing Time Cards
You access time cards through the Time Clock.
Complete these steps:
- On the R.O. Writer main window, click the Time Clock toolbar button
 .
. - On the Time Clock window, select an employee in the list.
-
Click the Edit Time Cards button. The Edit Employee Time Cards window appears.
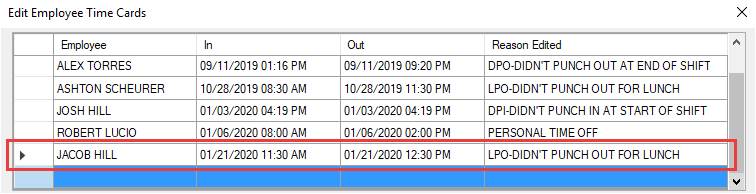
- The list of time cards for today's date appears in the top half of the window.
- If you do not see any time cards in the list, change the date range in the date range section below the list.
Searching for Time Cards
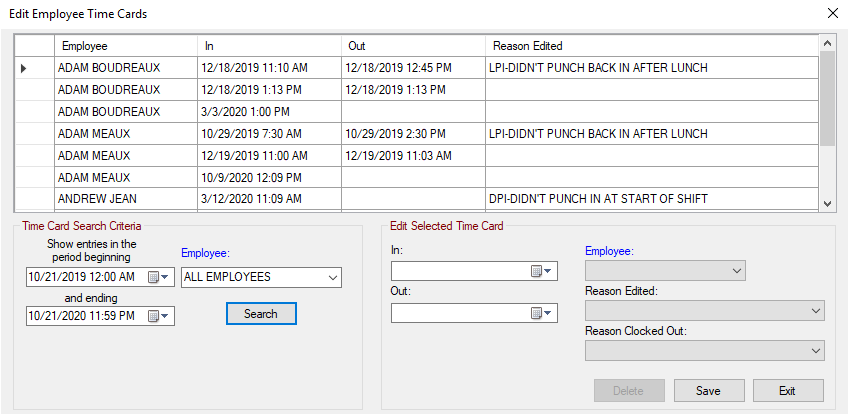
Every time the window opens only the time cards for the current day appear in the list. If you want to see time cards, use the fields in the date range section below the list.

- To change the date range, enter the beginning and ending dates and times.
- To see the time cards for one employee in the list, select the name in the Employee dropdown list.
- To perform the search, click the Search button. The matching time cards appear in the list immediately.
Editing Times Cards
You can edit any time card in the list.
Complete these steps:
- On the R.O. Writer main window, click the Time Clock toolbar button .
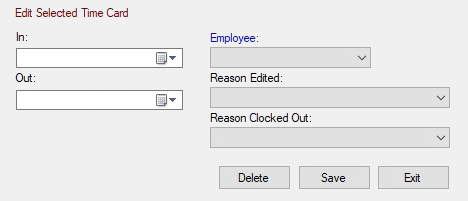
- Select a time card in the list. The contents of the selected time card appear in the Edit Selected Time Card section.
- You can make the following edits.
The following table describes the time card edits you can make. Item
Description
In and Out
Modify the punch-in or punch-out time as necessary.
No time is calculated for reporting until you enter times in both fields.
Employee
Select an employee to see time cards for only that employee.
Select All Employees to see time cards for all employees.
Reason Edited
If you edit a time card or create a new time card, you must select a reason.
Reason Clocked Out
If you enter an Out time in the list, select the reason for the clock out.
You are required to select the reason clocked out if Require a Clock Out Reason When Using Time Clock is checked in the General Options configuration setting.
- Click Save to save your edits. Your changes appear on the line of the time card in the table.
- Click Exit to close the Edit Employee Time Cards window.
- If you click Exit without clicking Save, your changes are not saved.
Deleting Time Cards
You can delete a time card at any time. There are two ways to delete a time card:
- Select the line in the table and press the DELETE key.
- Select the line in the table and click the Delete button.
Entering Time Cards
In rare circumstances, managers may need to enter a time card for an employee. For example, if an employee cannot come into the shop to clock in or out due to a family emergency (and your shop offers bereavement time as a benefit). These anomalies can skew reporting
Complete these steps:
- Scroll to the bottom of the list.
-
Select the last line of the table. This line is always blank.
Make sure there is an arrow in the empty gray box at the beginning of the line.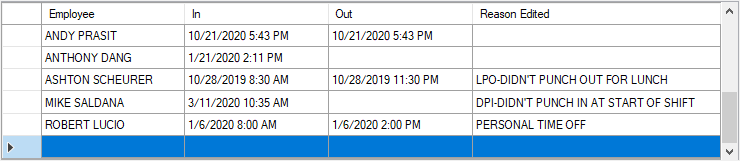
-
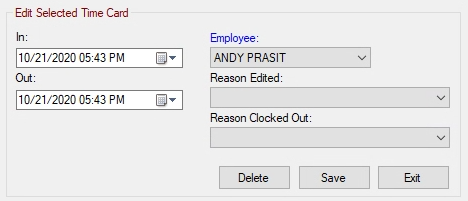
The fields in the Edit Selected Time Card section are blanked out so that you can enter the information.
- In the Edit Selected Time Card section, complete the following fields.
The following table describes the fields in the Edited Time Card section. Item
Description
In and Out
Enter the punch-in time in the In field and punch-out time in the Out field.
You can enter only the In time or only the Out time and save the time card. However, time is not calculated for reporting until you enter both times.
Employee
Select the employee from the Employee dropdown list.
Do NOT select an employee in the date range section. That Employee dropdown list is used only to search for existing time cards.
Reason Edited
Select the reason for the new time card. You must select a reason to save.
Reason Clocked Out
Enter the reason clocked out.
You are required to select the reason clocked out if Require a Clock Out Reason When Using Time Clock is checked in General Options.
- Click Save.
- The time card is saved and appears as the last completed time card in the table.
- The new blank line at the bottom of the table is selected automatically.