Emailing Appointment Confirmations
There are several ways to send a confirmation email for a new appointment or after rescheduling an existing appointment.
- You can send an email confirmation for one appointment to one customer manually.
- You can configure Scheduler to send an email confirmation automatically after
- Scheduling a new appointment or
- Rescheduling an existing appointment.
Configuring Emails From Appointments
To email appointment confirmations or reminders, you must first configure the following:
- Email setup for outgoing emails.
- Enter an accurate email and check Send on the customer record.
- Configure appointment reminder emails in Scheduler Setup.
When these areas are configured, emailing appointment confirmations and reminders is quick and easy.
Sending Email Confirmations for One Appointment
You can send email confirmations manually for one appointment.
To Send a Confirmation From the Appointment Tile
-
In the scheduler view, right-click on an appointment > Send Confirmation.
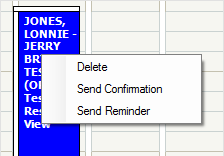
- The appointment confirmation email window opens.
- Make any modifications to the email.
- Click the Send button
 to send the email.
NOTE: These options are active only when the main module of R.O. Writer is open at the same time.
To Send a Confirmation From the Appointment Window
Complete these steps:
- Double-click on the tile to open the Appointment window.
- Click the Send Confirmation toolbar button on the appointment window.
- The appointment confirmation email window opens.
- Make any modifications to the email.
- Click the Send button to send the email.
Sending Confirmation Emails Automatically
You can configure Scheduler to send confirmation emails when appointments are scheduled and rescheduled automatically.
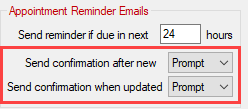
The Appointment Reminder Emails settings in Scheduler Setup determine the behavior of confirmation emails.
To Send a Confirmation Email Automatically
If set to always send after scheduling new appointments, the appointment confirmation email is sent automatically when you schedule a new appointment.
If set to always send after rescheduling existing appointments, the appointment confirmation email is sent automatically when you reschedule an appointment.
NOTE: You do not see the email before it is sent.
To be Prompted to Send a Confirmation Email
If set to prompt after scheduling new appointments, you are prompted to send an appointment confirmation email when you schedule a new appointment.
If set to prompt after rescheduling existing appointments, you are prompted to send an appointment confirmation email when you reschedule an appointment.
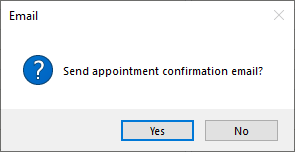
When you click Yes, the appointment confirmation email opens.
The Appointment Confirmation Email Window
The Appointment Confirmation Email window opens whenever you send or are prompted to send a confirmation email and click Yes on the prompt.
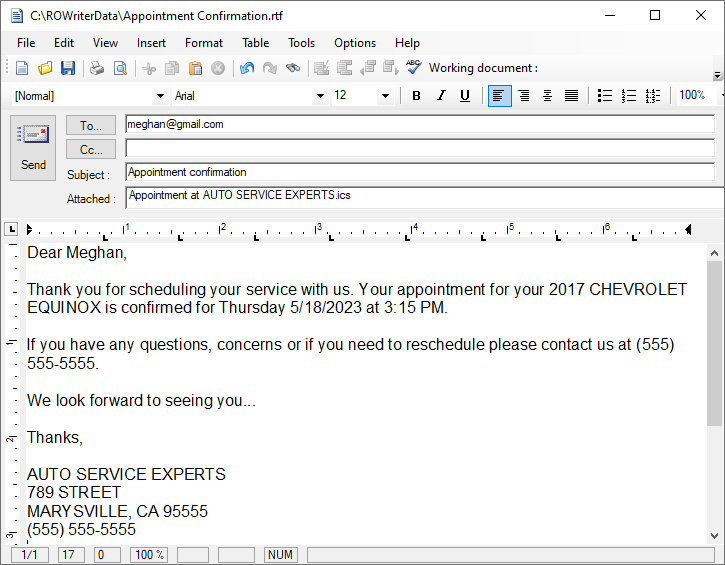
- The name of the .rtf file is in the title bar.
- The customer’s email is in the To field.
- The Subject line is “Appointment Confirmation”.
- An .ics file is attached with the name of the appointment. The recipient can click this attachment to add the appointment to an Outlook calendar.
- The content in the body of the email is from the AppointmentConfirmation.rtf template.
- You can modify the AppointmentConfirmation.rtf template in the Word Processor module.
- You can type anywhere in the email to modify or add content.