Central Office Client Installation
Ensure you are logged in as an administrator and run the Central Office installation file you saved (example: CentralOffice1.24.54.exe). Double-click on the EXE and it opens the Setup Wizard.
Click the Next button through the screens. When the Installation Type window appears, select Store.

Keep the default settings and click Next. When installation is complete, the Setup Complete window appears.
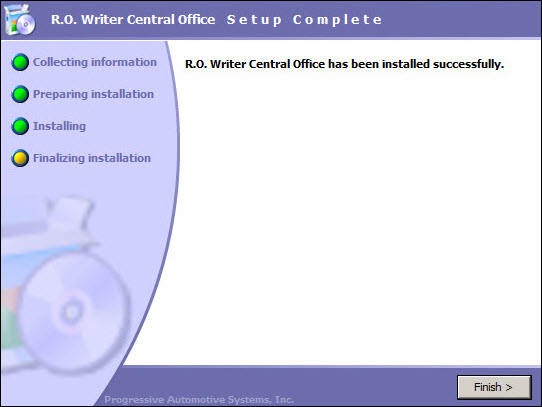
Click Finish to close the wizard.
Client Configuration
Start Central Office Client.
Click Setup to open the configuration window.
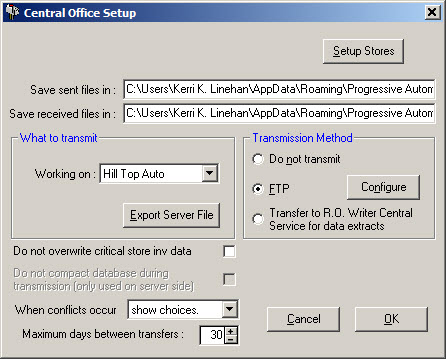
Enter the store number, up to seven digits. This store number is integrated into the name of the files that are transmitted from the store. If less than 7 digits is entered, the store number will show leading zeros (e.g., 00000) at the beginning in the transmit file names. This number can be numeric or alpha characters or a combination of the two. Do not use any special characters.
NOTE: This number must match the store number at the central office location for this store or the data will not be imported correctly at the store or the central office.
Enter the store name and ensure the Sent files and Received files folders are correct. There are three options at the bottom of this window.
Do Not Overwrite Critical Store Data
This prevents the Central Office site from overwriting on hand quantities and sales figures for parts at the store. This feature however does not prevent prices and other information about parts in inventory from being changed by data sent from the Central Office.
When Conflicts Occur
It is possible for a store and the Central Office to update the same data. This option allows the store to select to use the store data, use the Central Office data, or to show the conflict so that the store can determine the appropriate resolution.
NOTE: If the Central Office plans on entering and updating data especially updating parts pricing, the best configuration is at the Central Office location, use the setting "show choices" and at the store, use the setting "use server data". When using this configuration, ensure that at the store, you have also checked the box called "Do not overwrite critical store Inv".
Maximum Days Between Transfers:
This option establishes the maximum number of days between transfers. It is the number of days deleted records are kept. The default number is 30 and most likely will not need to be changed.
FTP Setup
If the client site is not ready to transmit and receive data from the Central Office, select Do not transmit. If the site is ready to transmit, select FTP.
To configure the FTP setting for the client, select Configure in the Transmission Method section.
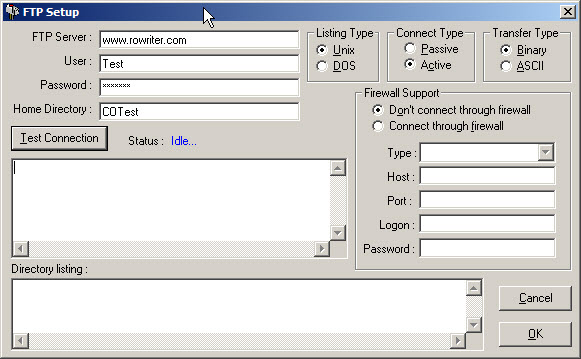
Enter the address of the FTP server, the User name and Password necessary for connecting, Listing type, Connect Type and Transfer type. These settings should all be available from the provider of the FTP service.
When all of the settings have been entered, select Test Connection to verify FTP connectivity for the Central Office program (there must be a connection to the internet established prior to this selection). You should see the following status:
The Status field has been filled in with "Success!" and there is a file listed in the Directory listing window. The filenames for Central office are 20 characters made up of the following information:
1st digit: S for Store or C for Central office
Next 7: Store number as specified in the setup window.
Next 6: Time the file was made in HHMMSS format.
Next 6: Date the file was made in MMDDYY format.
The extension will always be .zip as it is a compressed file. The file will contain up to 2 files. One will have the store name and an extension of MDB. This is the file that contains all the transmit information. There may also be a file with the extension of .IIF if the Accounting Interface is being used.
When the connectivity has been verified, the Central Office configuration is complete and the program is ready to use. Select OK to exit FTP configuration. Select OK on the Central Office Setup window. This will return to the Central Office Client.
NOTE: For proper operation of the program, the Central Office Server and all Central office clients must be transmitting to the exact same FTP address with the same parameters. It can cause the program to not function as intended if the FTP server information, Listing type, Connect type and Transfer type do not match at the server and the store.
Transmitting to Central Office Server
You will need to exit Central Office and rerun it before proceeding to the last step.
Before transmitting for the first time, click the Export Server File button.
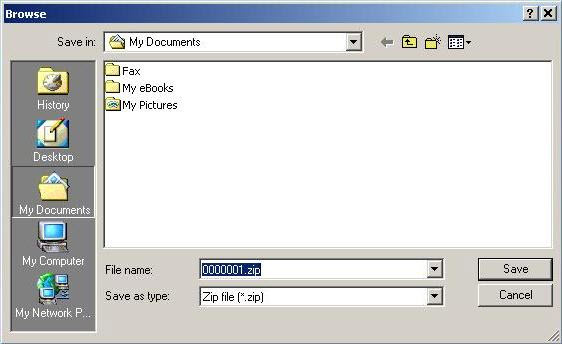
The next screen will prompt for the file location to write the backup file. The file location must be some type of removable media that can be taken to and read at the Central Office Server site (like a USB drive, ZIP disk or CD) or you can save it to the desktop and copy or burn to an external media afterward.
NOTE: Before proceeding with the step, be sure that all users at this location have closed any R.O. Writer modules.
Browse to the desired location. The filename will contain the store number so that the files from multiple stores may be kept on a single disk. It is recommended that the filename not be changed. When the location has been selected, select Save to continue with installation. The progress of the file creation is shown. DO NOT INTERRUPT THIS PROCESS.
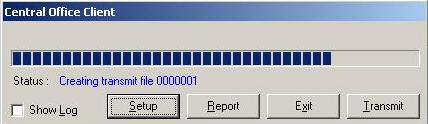
When finished, click OK.
Data Extracts Option
Transfer to R. O. Writer Central Service for Data Extracts is an option that allows you to transfer data to Central Service. It works like the Do Not Transmit option and creates the Accounting Interface export file that transfers to Central Service and does not remove the IIF files from the accounting export path. This prevents shops that do not have an office to transmit to from losing their accounting export files.