Transferring Vehicle History
A vehicle must always be associated with a customer. Sometimes a vehicle is sold to another customer or is a duplicate. In those cases, the vehicle needs to be transferred from one customer to another.
Transferring One Vehicle from One Customer to Another
Transferring vehicles from one customer to another transfers the vehicle information and any associated repair orders. Any Accounts Receivable charges generated for the transferred vehicle remain with the customer who generated the charges.
To Transfer a Vehicle
Complete these steps:
- Click Configuration module > Customers/Vehicles menu > Transfer History
- Select Transfer Vehicle From One Customer to Another.
- Click OK.
- Enter the
- Source Customer (the customer the vehicle is being transferred from)
- Destination customer (the customer you are transferring the vehicle to)
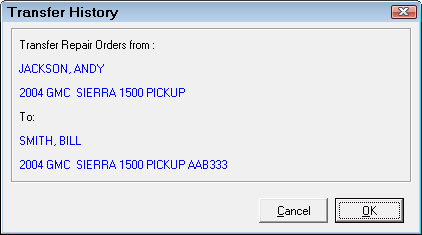
- The Transfer History window confirms the transfer information.
- Click OK to transfer the vehicle.
Transferring All Vehicles to One Customer
Sometimes the same customer has been entered under two different names or perhaps different family members have the same vehicle in R.O. Writer. In this case, the vehicle history needs to be consolidated under one customer name.
To Transfer All Vehicles
Complete these steps:
- Click Configuration module > Customers/Vehicles menu > Transfer History
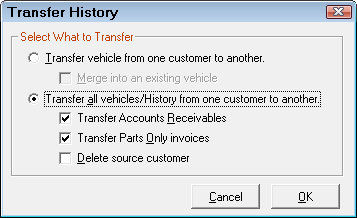
- Select Transfer All Vehicles/History from One Customer to Another.
- Select from the available options:
- Transfer Accounts Receivable - Transfers charges from one customer to another.
- Transfer Parts Only Invoices - Transfers parts-only invoices for the vehicle from one customer to another.
- Delete Source Customer - Deletes the source customer after transferring the history to the destination customer. You can select this option only if the two options above are selected.
- Make sure that you are absolutely certain you are deleting the correct customer before you select this option; it's easy to make a mistake here that cannot be undone.
- As an alternative, you can leave this option unselected, open history to verify that all vehicle information was transferred to the new customer, then use the Edit Customer option to delete the source customer.
- Click OK.
- Enter the
- Source Customer (the customer the vehicle is being transferred from)
- Destination customer (the customer you are transferring the vehicle to)
-
The Transfer History window shows the transfer information.

-
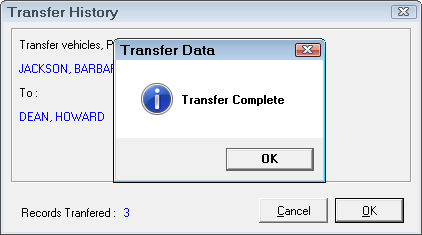
Click OK and a confirmation appears showing how many records were transferred.
For more details about deleting customers and vehicles, click the following link: Deleting Old Customers and Vehicles