You can schedule appointments on the main window. First, you search for customers and select the customer’s vehicle.
Creating New Appointments
Complete these steps:
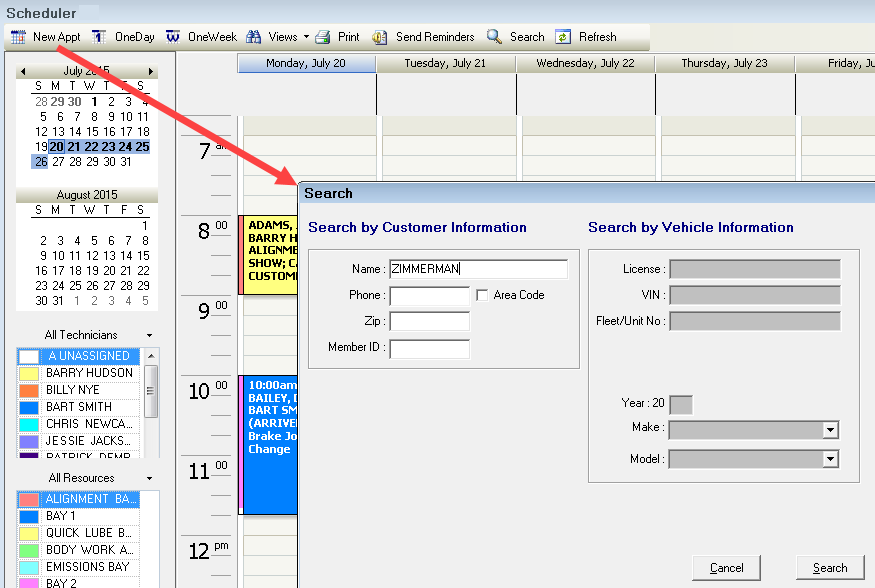
- Click the New Appt toolbar button
 in the Scheduler toolbar. The Search window opens.
 -
Search for and select a customer and vehicle.
-
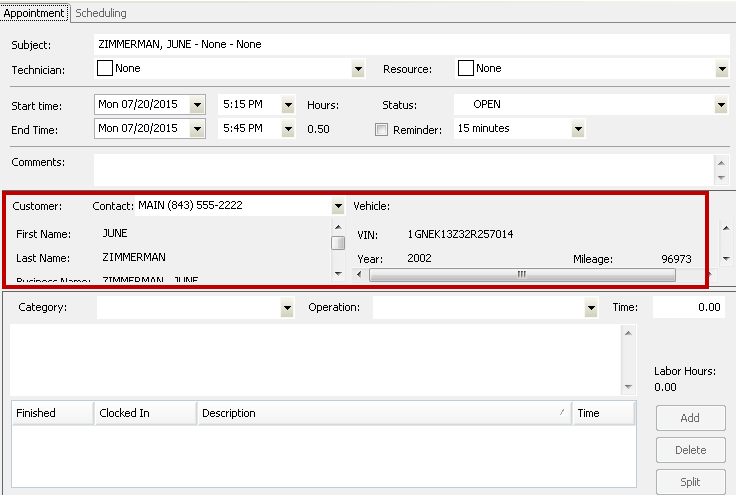
When the customer and vehicle are selected, the new Appointment window opens displaying the customer and vehicle information.
-
Select the Start time and End time. The Hours are calculated for you.

-
Set the Reminder time.
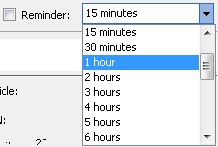
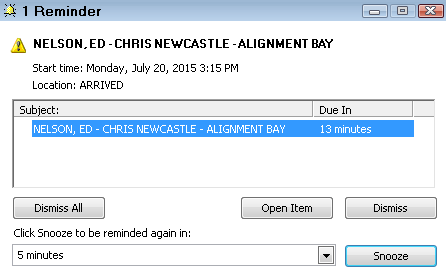
A reminder appears in Scheduler this amount of time before the appointment time starts.
-
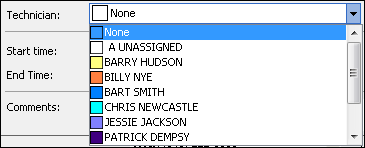
You can select a Technician.
-
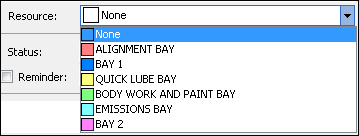
You can select a Resource.
-
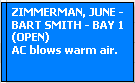
You can enter Comments.

-
Comments display on the appointment when viewing appointments for the day or week.
- Comments are converted into service requests in the text box on the Service Requests Tab when the appointment is converted to a ticket.
-
- Click Save to save the appointment.
- Click Close to close the appointment window.
- You are prompted to send an email confirmation if Scheduler is configured to prompt you.
- A confirmation email sends automatically if Scheduler is configured to always send.
Other Options on the Appointment Window
- Click the Delete button to delete the appointment.
- Click the Cancel button to close the appointment without saving any changes you have made.
- Click the Save and View History button to switch to the R.O. Writer module and open the history for this customer and vehicle.
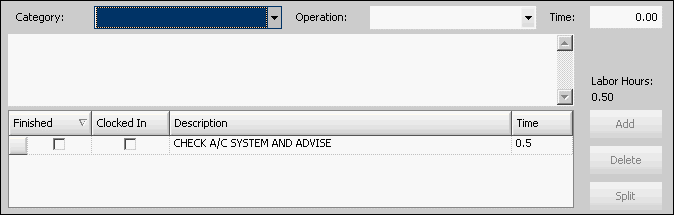
Adding Labor to an Appointment
You can add labor to appointments. If you convert the appointment to an estimate or repair order, the labor appears on the Parts/Labor Tab.
To Add Labor
Complete these steps:
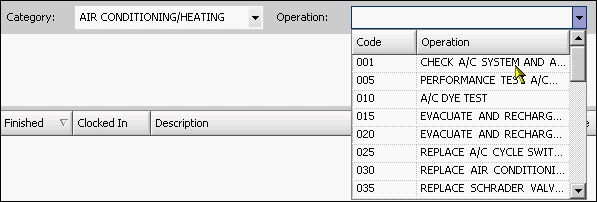
- On the appointment window, select the Category and/or Operation.
- The Time field shows the time in the labor selected. If not, you can type in a Time.
- Click the Add button. The labor operation is added to the list.
Editing Posted Labor Operations When the Ticket is Linked to an Appointment
If an appointment is linked to an estimate or repair order, changes made to the labor on the ticket updates the appointment information and vice versa.
You can do the following on either the appointment or ticket window:
- Mark the job Finished.
- Start or stop the time clock.
- Edit the Description.
You can do the following only on the estimate or repair order:
- Change the time.
- Delete the labor.
NOTE: Changing the technician should be done only in Scheduler.
Splitting Appointments Between Technicians
Sometimes when you have more than one labor on an appointment, you need to split the labor with other technicians and/or resources.
Complete these steps:
- Open the appointment
- Select the job and click the Split button.
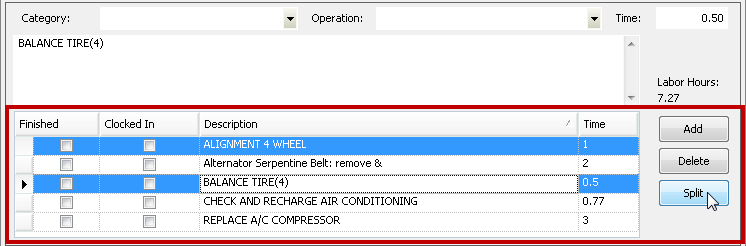
- A new appointment is created for the selected job.
- Open the new appointment.
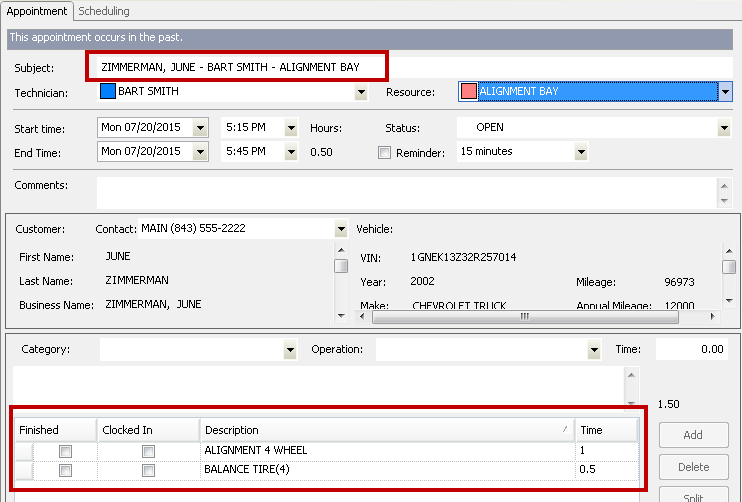
- Select the Technician and Resource.
- Edit the date and time if needed
- Click the Save and Close button to save the appointment and exit.
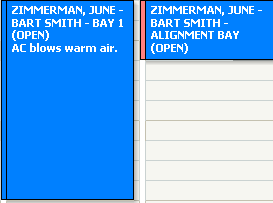
- The main scheduler window shows two appointments for the same customer: one for each technician.
Save and Print Appointment Reminder Stickers
When you click the Save and Print button to save the appointment, the following window opens.
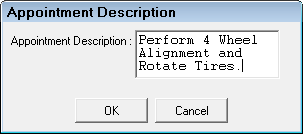
Enter the Appointment Description and click OK.
The description prints on an appointment sticker to the configured oil printer. You can give the sticker to the customer (or place it on the inside of the windshield of the vehicle) as a reminder of the next appointment.
NOTE: The Save and Print button is enabled or disabled based on the oil sticker settings in Configuration. If the oil sticker printer is configured, the Save and Print button is active.