Emailing Appointment Reminders
There are several ways to configure and send appointment reminders.
- You can send an email reminder for one appointment to one customer.
- You can send email reminders to all customers who have an upcoming appointment (within a set number of hours before the appointment time).
Configuring Emails From Appointments
To email appointment confirmations or reminders, you must first configure the following:
- Email setup for outgoing emails.
- Enter an accurate email and check Send on the customer record.
- Configure appointment reminder emails in Scheduler Setup.
When these areas are configured, emailing appointment confirmations and reminders is quick and easy.
Sending Email Reminders for One Appointment
You can send an email reminder manually for one appointment in a few ways.
To Send a Reminder From the Appointment Tile
Complete these steps:
-
In the scheduler view, right-click on an appointment > Send Reminder.
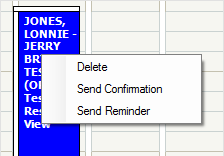
- The appointment reminder email window opens.
- Make any modifications to the email.
- Click the Send button
 to send the email.
NOTE: These options are active only when the main module of R.O. Writer is open at the same time.
To Send a Reminder From the Appointment Window
Complete these steps:
- Double-click on the tile to open the Appointment window.
- Click the Send Reminder toolbar button on the appointment window. The reminder email window opens.
- Make any modifications to the email.
- Click the Send button to send the email.
The Reminder Email Window
When the appointment reminder email window opens whenever you send a reminder email manually.
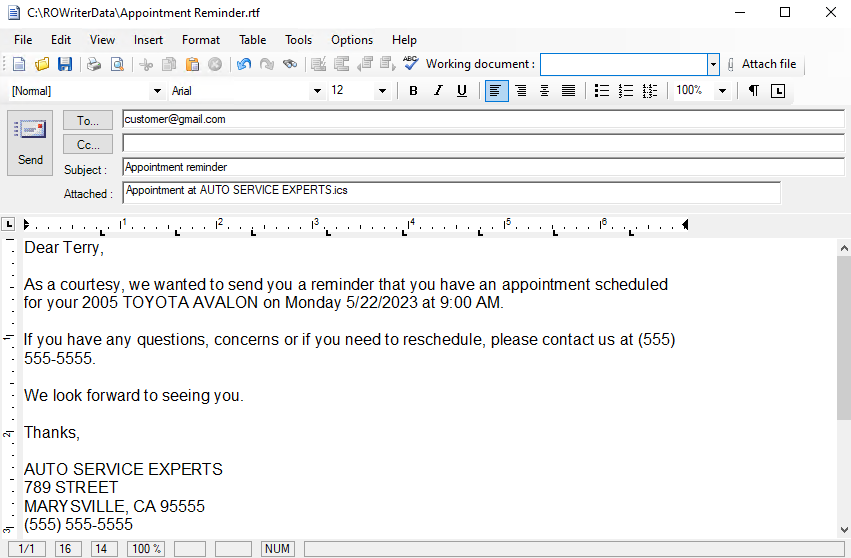
- The name of the .rtf file is in the title bar.
- The customer’s email is in the To field.
- The Subject line is “Appointment Reminder”.
- An .ics file is attached with the name of the appointment. The recipient can click this attachment to add the appointment to an Outlook calendar.
- The content in the body of the email is from the AppointmentReminder.rtf template.
- You can modify the AppointmentReminder.rtf template in the Word Processor module.
- You can type anywhere in the email to modify or add content.
Sending Reminders for All Upcoming Appointments
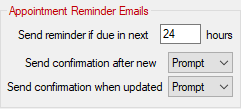
You can send email reminders to all customers who have an upcoming appointment (within a set number of hours before the appointment time).
The Send reminder if due in next __ hours setting in Scheduler Setup determines the number of hours.
This setting works with the Send Reminders toolbar button  on the main Scheduler window.
To Send Reminder Emails for All Appointments
To make sure all your upcoming appointments are emailed, open Scheduler and click the Send Reminders toolbar button each day.
Complete these steps:
- On the Scheduler window, click the Send Reminders toolbar button .
-
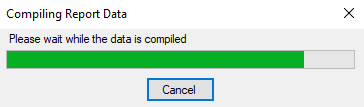
R.O. Writer starts compiling and sending reminder emails to all customers with appointments in the number of hours from today’s date set in Configuration.
The progress bar shows you the progress of the emails being sent.
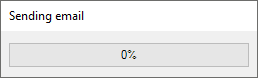
The reminder email window does not appear; the emails are sent automatically.
NOTE: A prompt appears if no email address is found for one of the customers.
-
After the emails are sent, R.O. Writer begins compiling the Appointment Reminder report.
-
The standard print window appears.
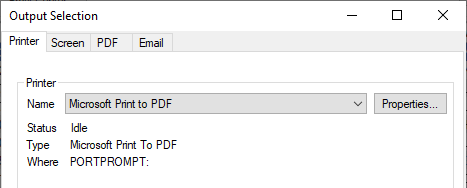
- Select Printer, Screen, PDF, or Email and click OK.
-
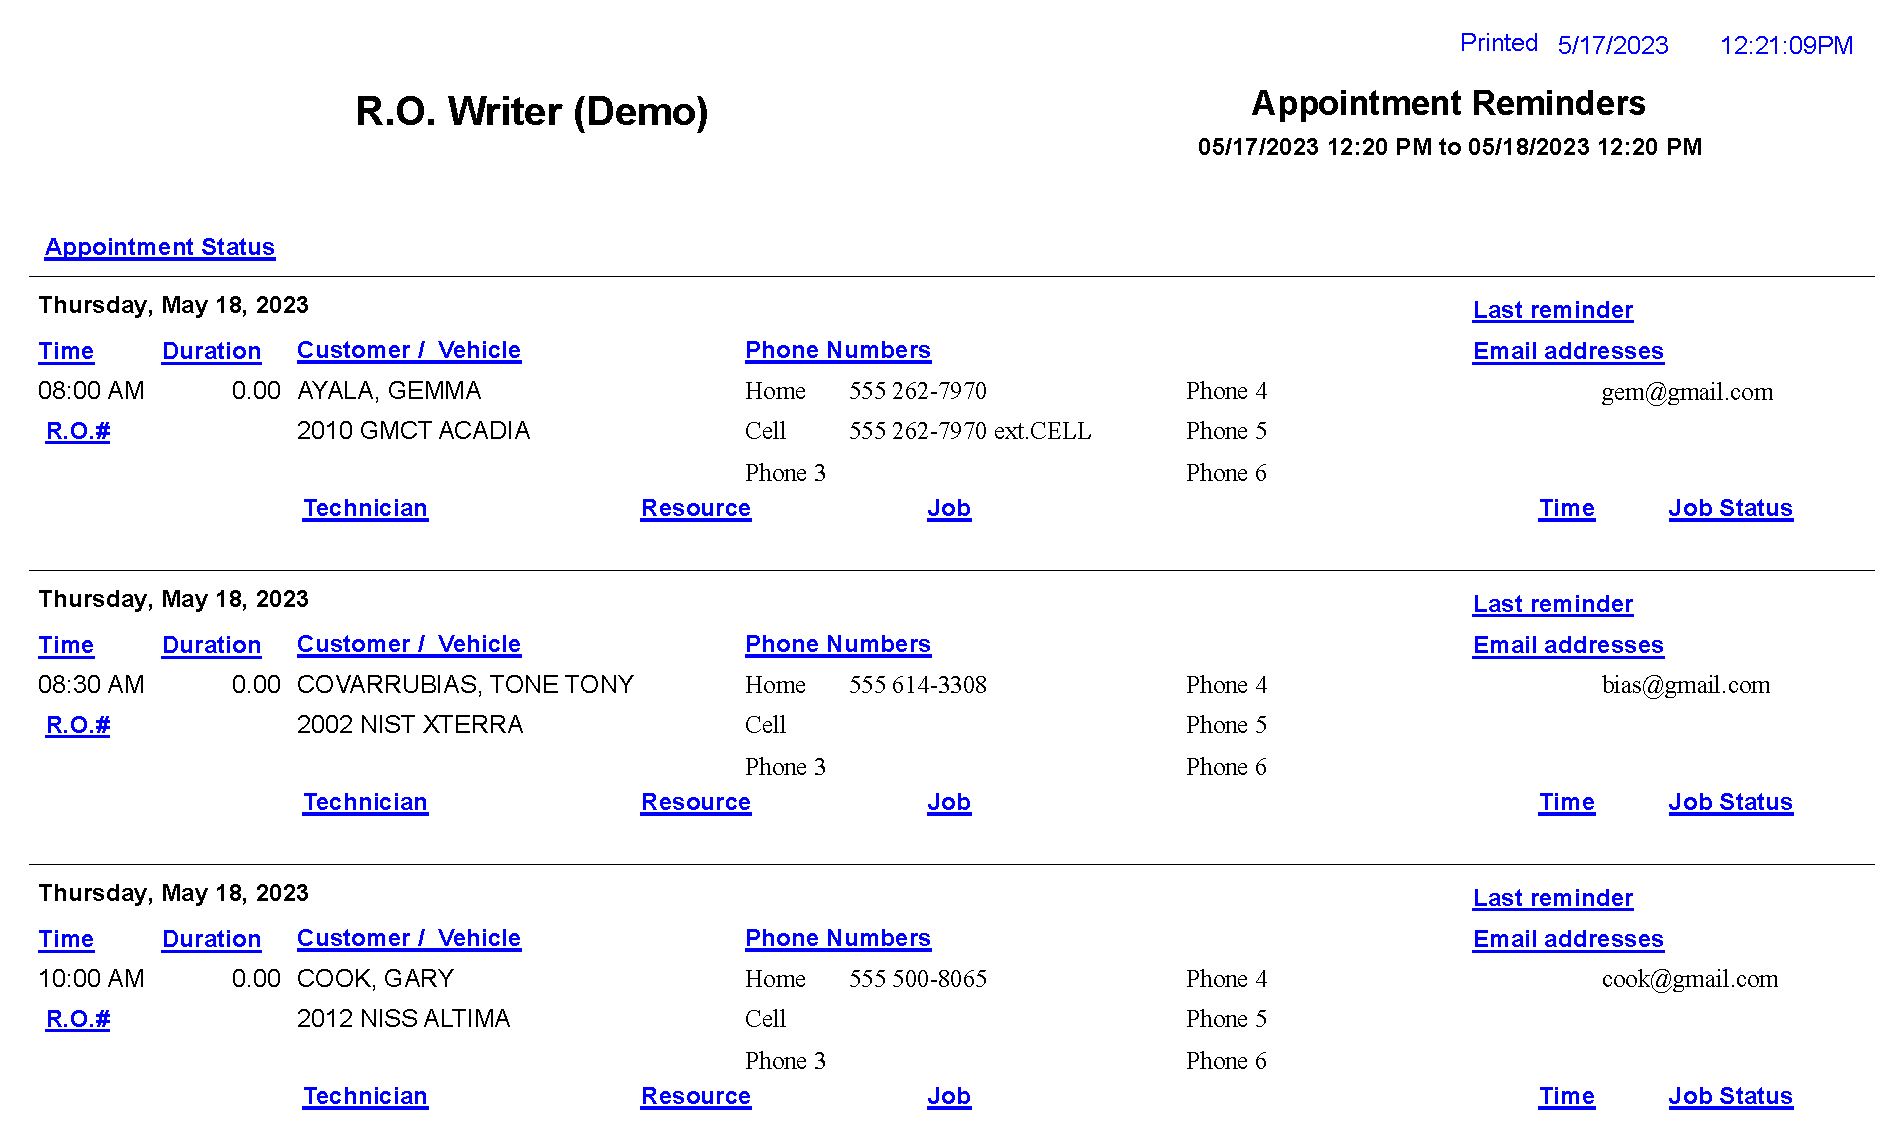
The Appointment Reminder report prints or appears. This report includes all the customers that R.O. Writer emailed (or attempted to email).
NOTE: When an appointment reminder email is sent, the appointment is marked as sent and does not resend if the Send Reminders button is clicked again.
Appointment Reminder Report
You can also print a report of all appointment reminders sent manually. Open the Reporting module and click Other Reports > Appointment Reminders.