Scheduler Window
Open R.O. Writer to the main window and click the Scheduler button  in the main toolbar. The main window of Scheduler opens to the current week in the default view.
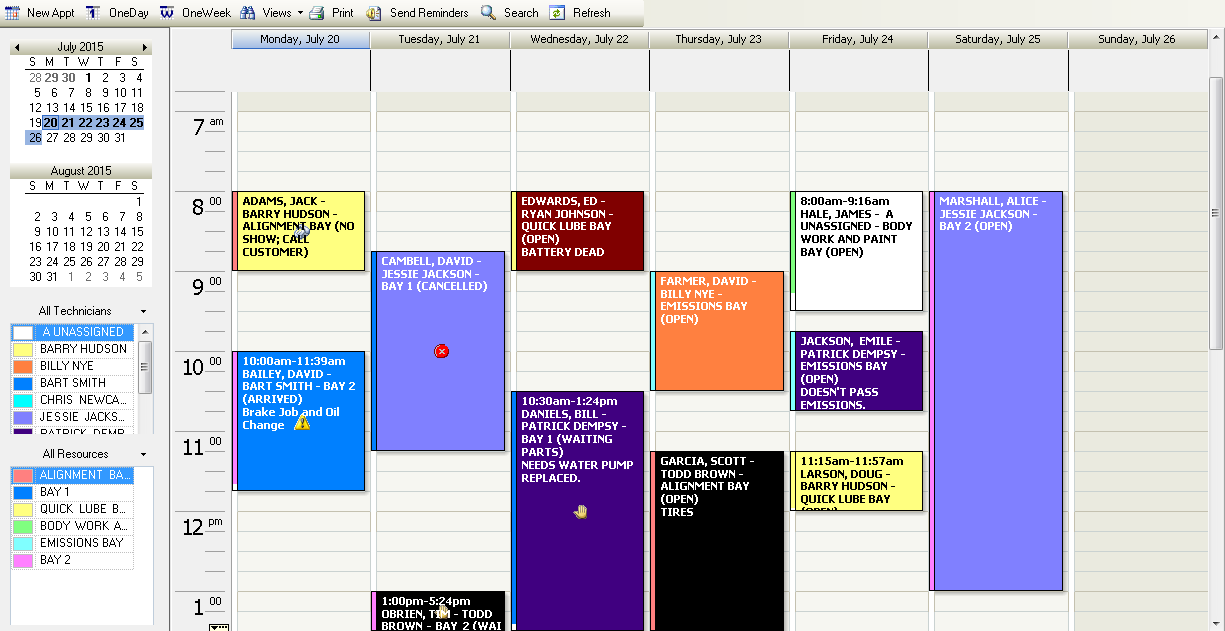
The Scheduler window provides everything you need to manage your schedule.
Scheduler Toolbar

|
Button |
Description |
|---|---|
|
New Appt |
Click to create a new appointment. The appointment window opens. |
|
One Day |
Click to see only today’s activity. You can select another day to see only that day. TIP: This can be useful in the Technician/Resource view so that you can see the scheduled technicians and resources for the day. |
|
One Week |
Click to see one week of activity. The week starts today and continues for the next six days. When clicked the calendar in the left column highlights the days automatically.
You would click this button to return to the full week after clicking the One Day button. |
|
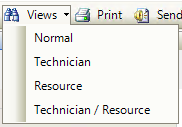
Views |
Click the down arrow on this button to see the available views.
|
|
|
Click to print today’s schedule. |
|
Send Reminders |
Click to send reminder emails for appointments within a certain amount of time. |
|
Search |
Click to search for appointments. |
|
Refresh |
Click to refresh the Scheduler window. All data updates. |
Columns
Each column is one day (default), one technician, or one resource depending on which view is selected.
- The technician and resource views allow you to adjust the column width.
- When you hover over the column divider, the cursor becomes a double-arrow
 .
.
Drag-and-drop the double-arrow to change the column width.
- When you hover over the column divider, the cursor becomes a double-arrow
- The default view does not allow you to change the width of the columns.
Appointment Tiles
Each appointment is a tile in the column when and where the appointment is scheduled. The length of the tile indicates the appointment duration. Double-click the tile to open the appointment details.
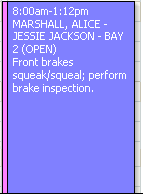
The tile shows as many appointment details as can fit in the tile.
- The start time and end time.
- The customer name.
- The assigned technician and assigned resource with the status of the resource.
-
The appointment status (not the ticket status).
-
The comments entered on the appointment.
- The assigned labor in the job item order.
- The color of the resource assigned appears on the left side (if applicable).
-
The image associated with the appointment status (if applicable).

To Open an Appointment
Double-click the appointment tile to open the appointment detail window.
To Reschedule an Appointment
You can drag and drop the tile to a new time or column to reschedule the appointment.
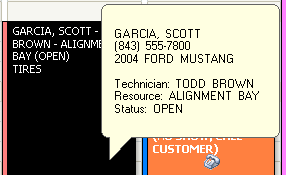
To See More Appointment Details
Hover the mouse over the appointment to see additional details for an appointment, such as phone number and vehicle information. A bubble window pops up displaying additional information.
Right-Click Menu on Ticket Tiles
Right-click on a ticket tile to see additional appointment options.
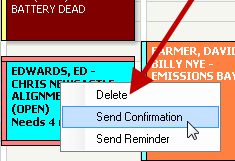
- Select Delete to delete an appointment.
- Select Send Confirmation to send a confirmation email to the customer.
- Select Send Reminder to send a reminder email to the customer.
Left Column
The left columns included information that you can review to see more information and click to move through the calendar.
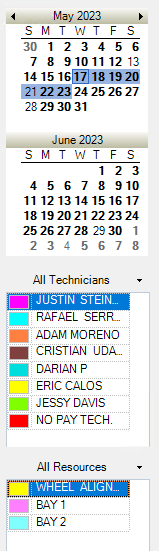
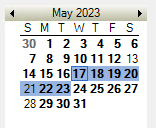
Months
The months show the current month and the next month. When you click the One Week toolbar button, the seven days are highlighted on the calendar.
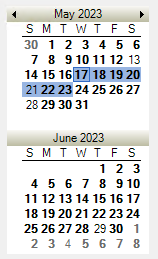
Use the left and right arrows to move the calendar backward and forward.
Click on one day to see the schedule for that day. Click the One Week toolbar button to return to the week view.
Technician List and Filter
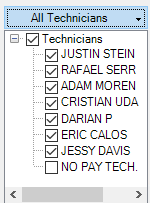
The Technicians section shows the technician color and name. The technicians listed are only the technicians included in all scheduler views.

The color is the color of the appointment tile, which helps you see who is assigned the job at a glance.
NOTE: Clicking the technician name does not sort the schedule by that technician.
To filter the schedule by technician, click the down arrow to see the technicians selected for the list. Uncheck the technician you want to remove.
The header changes to Multiple Technicians. Click the Multiple Technicians header to apply the change.
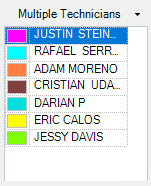
- The list shows only the selected technicians.
- The schedule updates to show only the selected technicians.
TIP: You can use this area to filter the schedule by technician.
Resources List and Filter
The Resources list shows the resources used in the schedule.
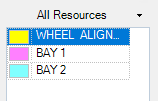
The color is the color of the resource, which helps you see what resource is being used at a glance (in the Resource view). In addition, the color appears on the left border of the tile when the appointment is assigned to that resource.
NOTE: Clicking the resource name does not sort the schedule by that resource.
To filter the schedule by resource, click the down arrow to see the resources selected for the list. Uncheck the resource you want to remove.
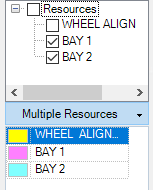
The header changes to Multiple Resources. Click the Multiple Resources header to apply the change.
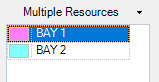
- The list shows only the selected resources.
- The schedule updates to show only the selected resources.
TIP: You can use this area to filter the schedule by resource.