Complete these steps:
- You can
- Click the New Appt button
 in the Scheduler toolbar OR
 - Select the date using the calendar to the left and double-click on the time the appointment is to begin.
- Click the New Appt button
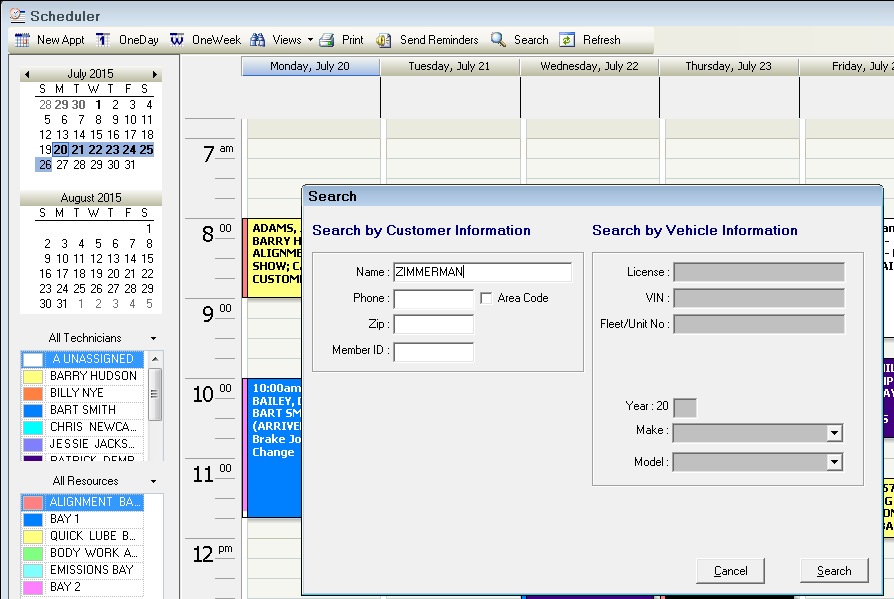
- The Search window opens where you need to search for and select a customer and vehicle the same you do when creating an estimate or repair order.
- When the customer and vehicle are selected, the new Appointment window opens with the customer and vehicle information.
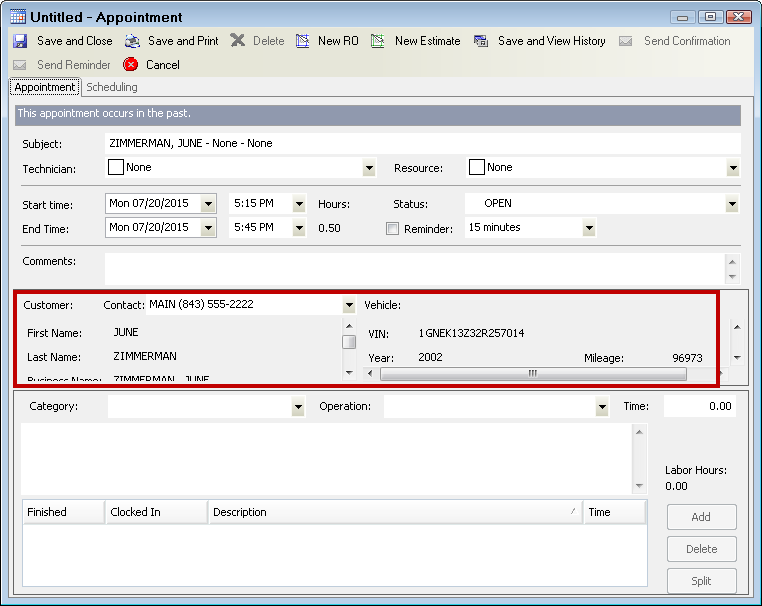
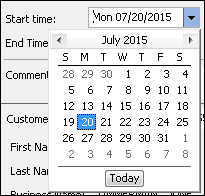
- Select the time and date of the appointment by manually typing in the date or using the dropdown list and selecting the date on the calendar.

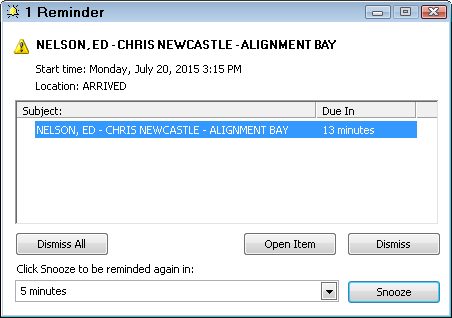
- Set a reminder by selecting the Reminder option and selecting a time between 0 minutes to 2 weeks in the dropdown list.
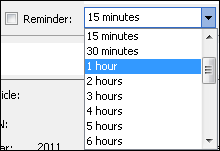
- A reminder for the appointment appears on your screen for the time you set it.
- You can select a Technician.

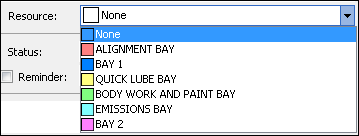
- You can select a Resource.
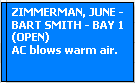
- You can enter comments.

Comments display on the appointment when viewing appointments for the day or week.
Comments are converted into requests in the text box on the Service Requests Tab on the repair order or estimate.
- Click the Save and Close button to save and close the appointment.
You can also
- Click the Delete button to delete the appointment.
- Click the Cancel button to close the appointment without saving any changes you have made.
- Click the Save and View History button to switch to the R.O. Writer module and bring up history for this customer and vehicle.
To Add a Labor Operation to an Appointment
Sometimes you know the job the customers needs. You can add it to the appointment.
Complete these steps:
- Select the Category and Operation.
- Type in a time if applicable.
- Click the Add button. The labor operation is added to the list.
If you convert the appointment to an estimate or repair order, the labor operation appears on the Parts/Labor Tab.
Editing Labor Operations When Appointments and Tickets Are Linked
If an appointment is linked to an estimate or repair order, changes made to the labor job on the repair orders or estimate updates the appointment and vice versa.
You can
- Mark the job finished,
- Start the time clock, or
- Edit the description.
The time can only be changed from the repair order or estimate.
The labor can only be deleted from the linked estimate or repair order.
Technician changes should only be made in the scheduler.
Splitting Appointments Between Technicians
Sometimes when you have more than one labor operation on an appointment, you need to split some of the jobs to another technician and/or resource.
Complete these steps:
- Open that appointment
- Select the job and click the Split button.
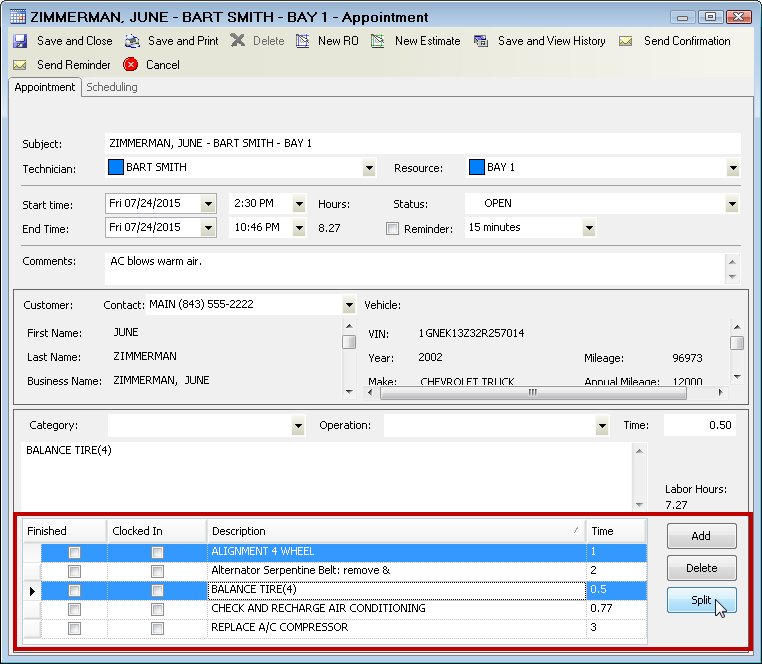
- A new appointment is created for the selected labor jobs.
- Open the new appointment.
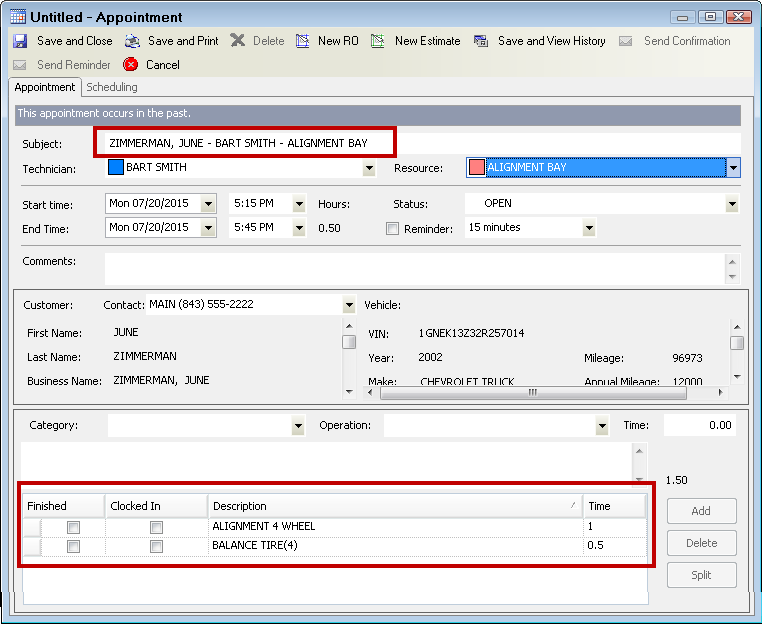
- Select the technician and resource, edit the date and time if needed
- Click the Save and Close button to save the appointment and exit.
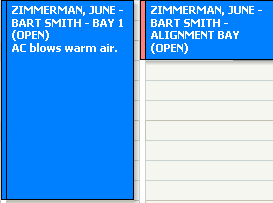
- You now have two appointments for the same customer.
Save and Print Appointment Reminder Stickers
Click the Save and Print button to save the appointment and print an appointment sticker to give to the customer as a reminder of his next appointment. The following window opens.
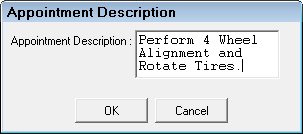
Enter the text you wish to print on the sticker and click OK.
NOTE: The Save and Print button is enabled or disabled based on the Print Sticker setting in the Configuration module - see Oil Stickers.