Configure the Central Office Store
You select one R.O. Writer workstation as the Central Office store. This is the workstation that transmits to the FTP site configured in Central Office. You transmit only from that machine.
Central Office stores do not transmit to each other. Central Office stores transmit only to the FTP site configured in Central Office.
On the Central Office store, complete the following steps:
Step 1 - Confirm That This Machine is a Store
Step 2 - Enter the Central Office Client Settings
Step 3 - Export the Store's Server File
Step 1 - Confirm That This Machine is a Store
All Central Office windows on the store have "Client" in the title bar. You can also check the license details on the machine.
Complete these steps:
- Open R.O. Writer.
- On the main window, click Help menu > License Details.
- If prompted, enter the correct password. The R.O. Writer License System opens.
- Click the Display License Details button. Your license details display on the window.
-
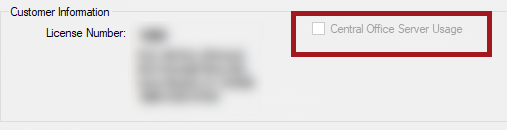
In the Customer Information section, the Central Office Server Usage box should be unchecked and disabled.
Step 2 - Enter the Central Office Client Settings
You configure the connection information on the Central Office Client setup window.
Complete these steps:
- On the Central Office store, open R.O. Writer Configuration.
-
Click File menu > Central Office Setup. The Central Office Client setup window opens.
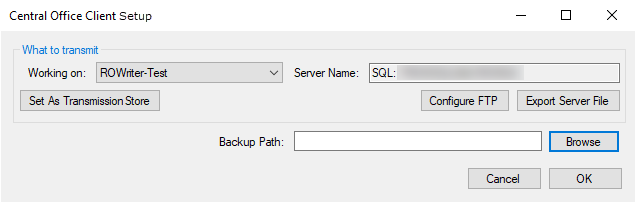
- Complete the What to Transmit section.
-
Click the Set as Transmission Store button. A warning message appears that you are assigning this store to the current machine.
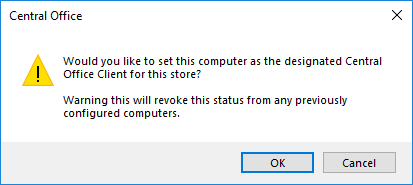
- Click OK. This machine is now designated as the one Central Office store that transmits to the Central Office server.
- The machine name of the current computer appears to the right of the Set As Transmission Store button.
- The GUID that identifies the store is created in the database.
The Export Server File button activates.
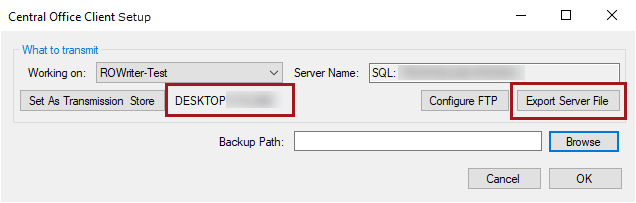
- At this point, you should export the store data.
- You can click OK to save your settings without exporting and return to export the settings later.
Step 3 - Export the Store's Server File
You need to export the server files from all stores before configuring the Central Office server.
The first time you export store data, the entire database exports. The process can take some time depending on the size of the database.
Complete these steps:
- On the Central Office store, open R.O. Writer Configuration.
- Click File menu > Central Office Setup. The Central Office Client setup window opens.
- Click the Export Server File button. A prompt appears notifying you that all the flags will be reset.
-
Click OK and the Central Office Extract Tool opens. The title of the window displays the store name and license number.
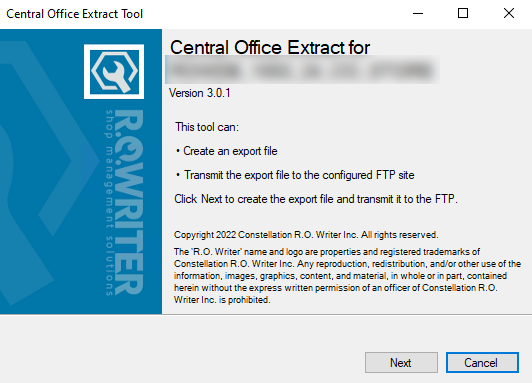
-
Click Next. The export process begins immediately. The title of the window displays the store name and license number. The progress bar shows you the progress of the export.
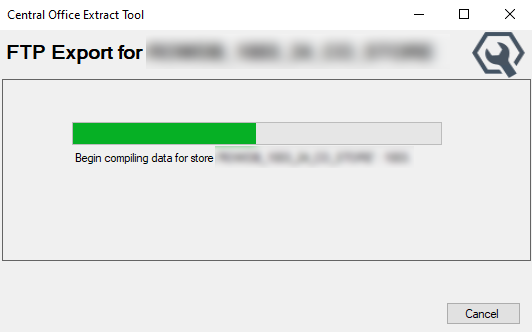
-
This window notifies you when the export is complete. The exported server files are now stored on the FTP site.