Configuration menu > Labor > Smart Jobs
In order to use Smart Jobs, the Epicor Parts and Labor Guide feature must be installed.
Smart Jobs allow you to configure parts and labor in one job. When selected for a repair order, the labor and parts information from the catalog are automatically transferred to the repair order. The Edit Smart Jobs screen opens.

Adding and Editing Job Categories
Complete these steps:
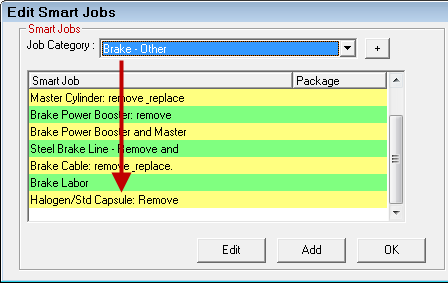
Click the plus sign (+) at the end of the Job Category dropdown list. The Edit Smart Job Categories window opens.

Click Add to add a category and then Save to save it.
To exit, click the Cancel button and you are returned to the Edit Smart Jobs window with the dropdown list.
Creating Smart Jobs
Complete these steps:
- Click the Add button. The Edit Smart Jobs Window window opens.
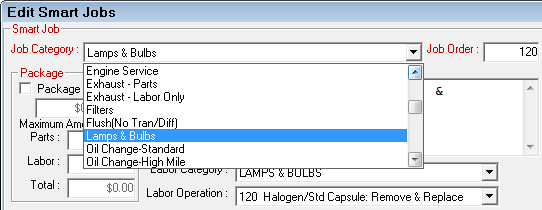
- Enter the Description for the specific job, Job Order and the Labor Category and Operation from the dropdown lists.
- Click the Save button to save the transaction, or Cancel to return without saving.
Edit Smart Jobs Window
You configure each part of the Smart Job on the Edit Smart Jobs window.
Package Price
You can assign smart jobs a Package Price, which is one price for all labor and parts.
Select the Package Price checkbox, and enter the appropriate amounts.
To establish maximum amounts for parts, labor, or the total, enter the amounts in the appropriate area. You are warned if the Maximum Amounts if the totals are exceeded; R.O. Writer does not adjust the price automatically.
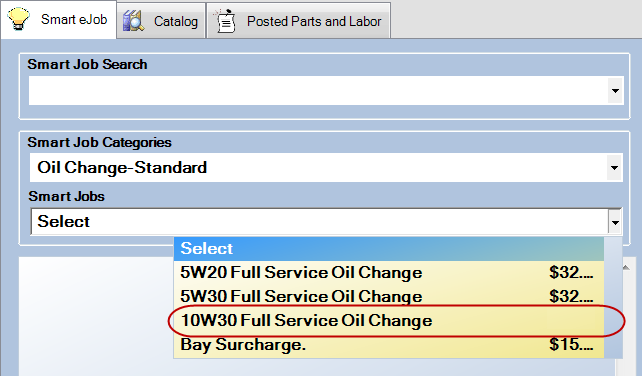
When the Package Price checkbox is unchecked on a Smart Job in Configuration, no package price displays in the Smart Jobs dropdown list in Smart eCat.
Lock Status
These options enable you to lock and unlock the price for the smart job. When the price is locked, it cannot be edited after being added to an estimate or repair order (see Price Locking Smart Jobs).
This is a Combination of Other Smart Jobs (Express)
This checkbox is available only in the R.O. Writer Express. Checking this box allows you to combine two or more smart jobs to create a super job.
Labor Guide
In this section you can add labor items from the Epicor catalog.
Complete these steps:
- Click the Add button in this section. The following window appears:
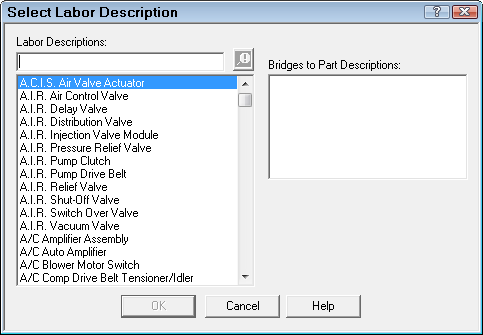
- Enter all or a portion of the Labor Descriptions. The list of matching items appears.
- Select the appropriate item from the list and click OK.
- The Epicor labor description is added to the Smart Job.
- You can add another labor description or close this guide. Multiple labor items may be entered for any given Smart Job.
- Optional - You can also
- Add time to the time specified in the labor catalog.
- Specify a minimum time.
To delete an existing labor job, select the entry and press the Delete button.
NOTE: The Help buttons on this window are from a third-party software whose Help system is not accessible from this button.
To Add Parts From the Epicor Catalog
Complete these steps:
- Click the Add button beneath Catalog Parts.
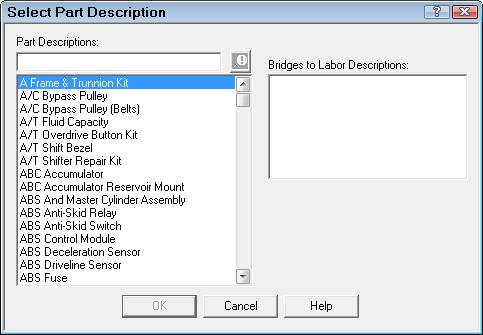
- In the box beneath Part Descriptions, enter all or a portion of the part description,
- select the appropriate item from the list.
- Click OK. This transfers the Epicor part description to the Smart Job. Multiple part descriptions can be entered for any given Smart Job.
To delete an existing part description, select the entry and click Delete.
NOTE: The Help buttons on this window are from a third-party software whose Help system is not accessible from this button.
Other Labor
This section allows you to add additional labor operations to Smart eJobs. This section is available only when Smart eJob is enabled in the Configuration module (Configuration menu > Repair Order > Catalog Options > Use Smart eJob option.)
If Smart eJob is disabled in Configuration, this section is disabled.

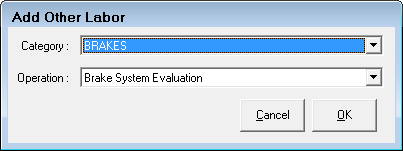
When this section is enabled, click the Add button. On the Add Other Labor pop-up window, select the labor category and operation in the dropdown lists.
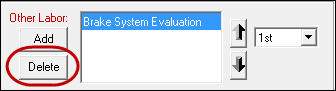
To delete an Other Labor operation in this section already, select it and click the Delete button.
Other Parts
You can add parts from Inventory in this section. Multiple parts may be entered for any given Smart Job.
Complete these steps:
- Press the Add button beneath Other Parts.
- Enter the part number or part description, and click the Search Inv button.
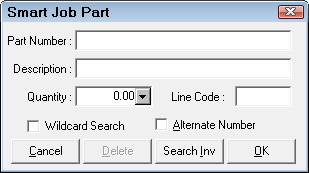
- Select the appropriate part from the list.
- Enter the desired quantity, and click OK to update the Smart Job.
To delete an existing part, select the entry and press the Delete button.
Oil Sticker Checkbox
Checking this checkbox means that this Smart Job needs an oil sticker printed. When added to a ticket, the Description says, "Oil Sticker Required."
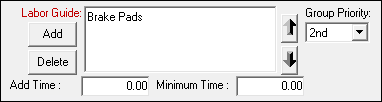
Organizing Additional Parts and Labor
To rearrange Labor or Parts within each category, select the item and click the up or down arrows.
To change the group priority, use the Group Priority dropdown lists.
Editing Smart Jobs
Complete these steps:
- Select the Smart Job from the Category dropdown list.
- The Description, Job Order and the Labor Category may be modified.
Job Order determines the order in which Smart Jobs appear in the list; changing it changes the sequence of jobs. - Click the Save button to update or click Cancel to return without saving.
Deleting Smart Jobs
You cannot delete smart jobs but you can make it inactive in R. O. Writer and/or Express by selecting the Inactive option on the Edit Smart Jobs window.

Inactive Smart Jobs
- Do not appear in dropdown lists in the rest of the application.
- Are available only when editing smart jobs so that you can make them active again if need be.
- Are included on reports so that you can track their past activity and keep your reports accurate.
Moving Smart Jobs to Another Job Category
If you want to move a smart job to another category, you open it, edit it, and change the selection in the Job Category dropdown list.
To change this, double-click the smart job to open it. On the Edit Smart Jobs window, select the new Job Category in the dropdown list.
Click the OK button to save and exit. The smart job is now in the new category.
Changing the Order of Smart Jobs in Dropdown Lists
You can change the order in which smart jobs appear in dropdown lists throughout the system by changing the Job Order number.
- Job Order numbers do not update automatically. If you enter a duplicate job order number ( a number already assigned to a smart job), the system places both items next to each other in the list and does not warn you that there is a duplicate.
- If you would like to give yourself some room to move smart jobs around, assign job order numbers in increments of 10.
- It is easiest to move a smart job to the end of the list.
Complete these steps:
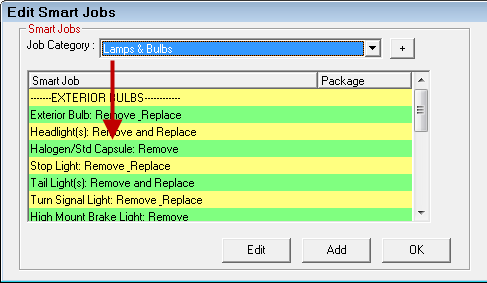
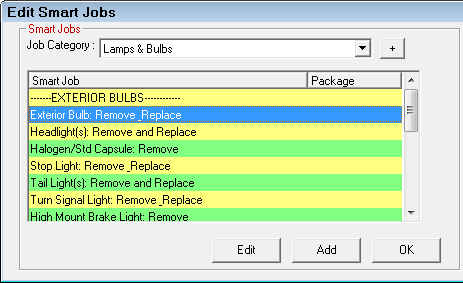
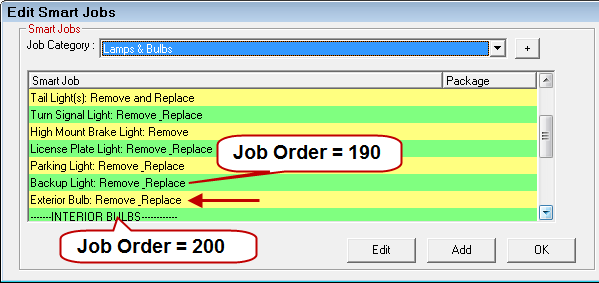
Open the Edit Smart Jobs list and note the Smart Job at the top of the list: Exterior Bulb: Remove_Replace.
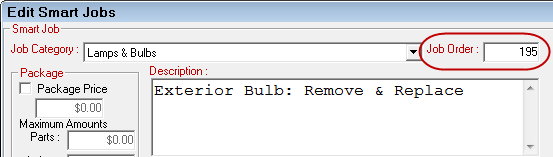
Open the Smart Job. Note that its Job Order number is 105.
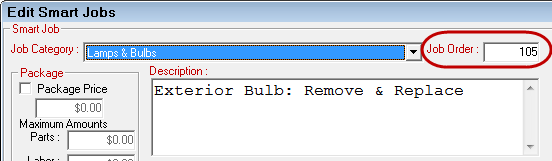
Change the Job Order number to at least one higher than the last job in the list; in this case, "195".
Click OK to save the change. Exterior Bulb: Remove_Replace is now at the end of the list.
This section contains the following topics: