Export and Import Data (Required)
The upgrade process is simple after an upgrade to R.O. Writer.
Step 1 - Export the Server Files From the Stores
Step 2 - Import the Server Files From All Stores on the Server
NOTE: After upgrading R.O. Writer, you may want to verify your settings in Central Office before you export and import.
Step 1 - Export the Server Files From the Stores
You export the store data on the machine in the shop that is set as the transmission store. This is the Central Office Store.
If you have multiple shops in your implementation, then you have multiple Central Office stores. You need to export the server files on each Central Office store.
Complete these steps:
- On the Central Office store, open R.O. Writer Configuration
 .
. -
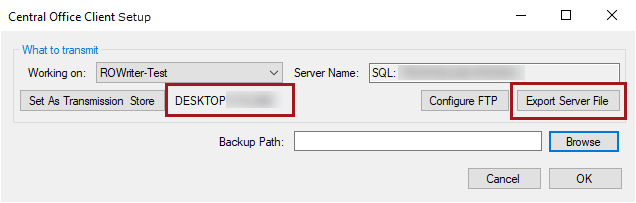
Click File menu > Central Office Setup. The Central Office Client Setup window opens.
The machine name appears to the right of the Set as Transmission Store button and the Export Server File button is active.
-
- If the Export Server File button is not active, that means that this machine is not set as the transmission store.
- If this machine is supposed to be the Central Office store, click the Set as Transmission Store button. The Export Server File button activates.
-
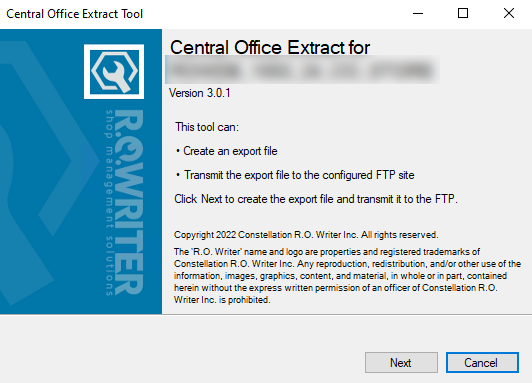
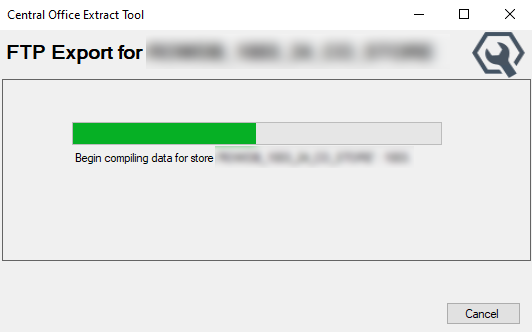
Click Next. The export begins immediately. The progress bar shows you the progress until the store data is exported.
-
Repeat Steps 1—5 on each store machine.
Step 2 - Import the Server Files From All Stores on the Server
During this process, the server database is dropped, a new database is created with the same database name, and all the data in the incoming server file is inserted into the new database.
To Import All Stores
For each store, the entire database imports, which can take some time. R.O. Writer creates a database for the imported store and imports the data into it.
The license information is also imported with the database. You do not need to import the license information in Setup Stores after the import is complete.
Complete these steps:
- Open the Central Office server, open R.O. Writer Configuration .
- Click File menu > Central Office Setup.
- On the Central Office Server Setup window, click the Import Server button.
-
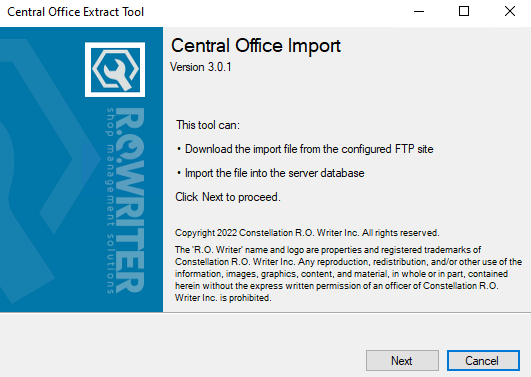
The Central Office Extract Tool opens to the Central Office Import window.
-
Click Next. The import options window opens.
-
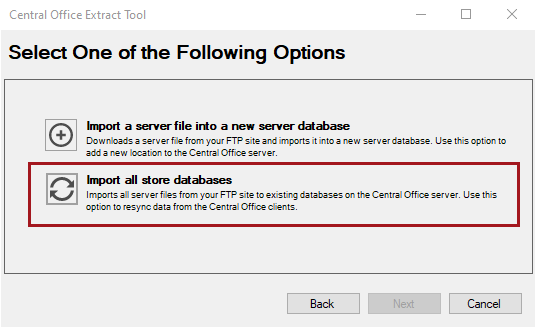
Click Import All Store Databases. The following warning appears.
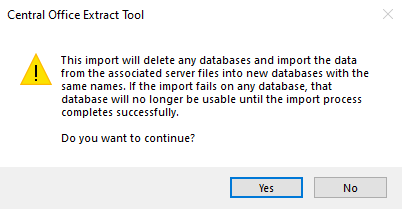
-
Click Yes. The import process begins importing server files from all stores from the FTP server.
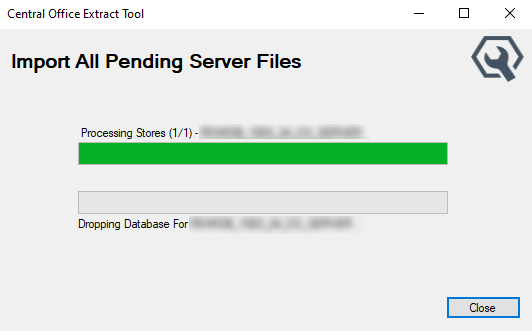
Each store is imported one at a time.
- The top progress bar displays how many stores need to be processed and which store is being processed.
- The bottom progress bar displays the step in the import process of the current store.
- When all stores have been imported, a message appears notifying you that the process is complete.
- Close R.O. Writer and restart the machine.
- The next time you launch R.O. Writer, any custom reports (forms) will be imported during launch.
WARNING! You should not send a daily transmission from the stores until after all imports have finished processing on the server. After all stores have finished processing the first time, you can begin daily transmissions again.
If There is an Error During Import
If one store fails, the entire import process is stopped and an error appears showing the details. You can copy the text of the error and paste it into a text file if you would like to record the details. You may need to resolve issues with the data.
To import the store, import it as a new store.
Complete these steps:
- On the Central Office server, open R.O. Writer Configuration .
- Click File menu > Central Office Setup. The Central Office Server Setup window opens.
- Click the Import Store button. The Central Office Extract Tool opens.
-
Click the Import a Server File... option.
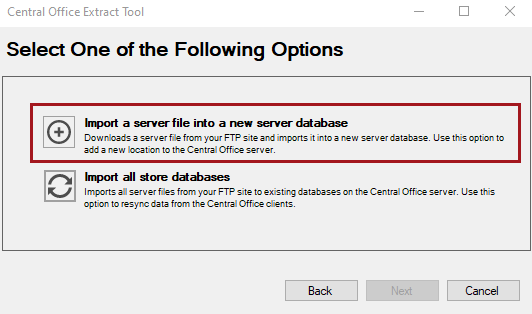
-
Select the Central Office store.
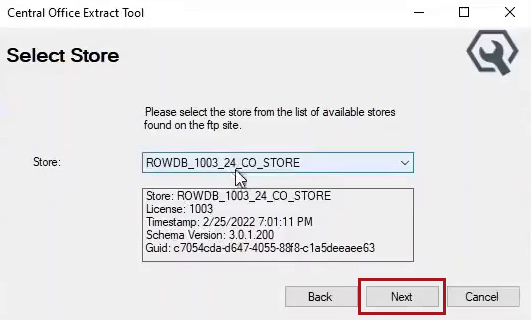
- The Store dropdown list contains only the stores that have been exported to the FTP site.
- Stores are listed by store name.
- The box below the Store dropdown list displays the store information for your review.
-
Click Next. The Connection Information window appears.
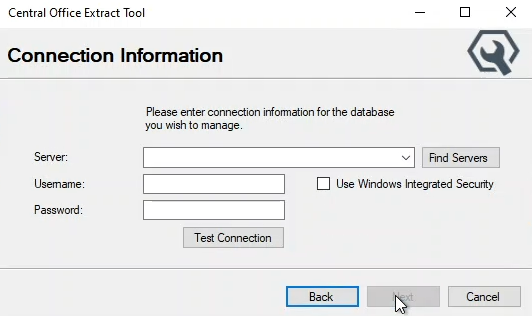
- Enter the connection information and click the Test Connection button to verify the connection to the SQL Server. When the connection is successful, the Next button activates.
-
Click the Next button. The Import Database window opens
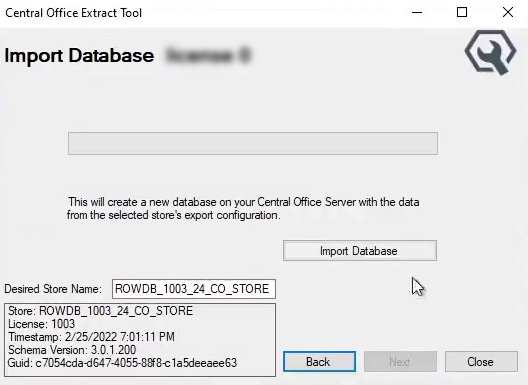
- The top of the window displays "Import Database [Store Name] [License Number]".
- The store information also appears at the bottom of the window.
- You can change the store name in the Desired Store Name field.
-
Click the Import Database button. The store data begins importing.
-
When the import is complete, the progress bar indicates that the process is complete.

- Click the Next button. The extract tool window closes and you are returned to the Central Officer Server Setup window.