After you have enabled and configured Scheduler Setup, you need to set up additional items in Configuration such as
- Assigning Colors to Technicians
- Prompting to Create Future Appointments After Finalizing
- Printing Appointment Reminder Stickers
- Password Protecting Functions in Scheduler
Assigning Colors to Technicians
You may need to edit your technicians to assign them colors for Scheduler. If technicians are already assigned colors, those colors appear in Scheduler automatically.
To Assign Colors to Technicians
Complete these steps:
-
Select Configuration menu > Labor > Technicians.
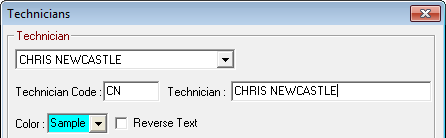
- Select a Technician in the dropdown list.
- In the Color dropdown list, select the color for the technician.
- Choose distinct colors for each technician and resource so they are easy to distinguish from each other on the Scheduler window.
-
The default color for text is black. Check Reverse Text if you select a dark color for the technician. Checking Reverse Text makes the text white so that it can be seen on the dark technician color.
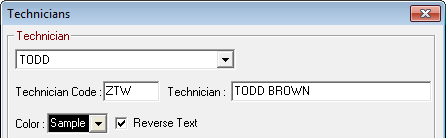
- Dark color with reverse text:
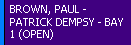
- Light color with the default (black) text:
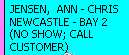
- Dark color with reverse text:
NOTE: Technicians marked as inactive do not appear in Scheduler.
Prompting to Create Future Appointments After Finalizing
You can have R.O. Writer create a future appointment when you finalize a repair order. In the Configuration module, select Configuration menu > Repair Order > Required Entries > Finalize section > Schedule Appointment.
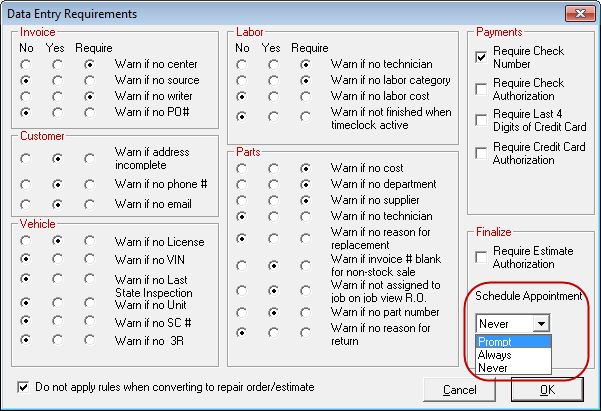
When you finalize a repair order,
- If you select Prompt, you are prompted to schedule a future appointment.
- If you select Always, R.O. Writer automatically opens a new appointment window.
- If you select Never, R.O. Writer does not prompt you to create a future appointment or open a new appointment window.
Printing Appointment Reminder Stickers
R.O. Writer can print appointment stickers for windshields to remind customers of their next scheduled appointment. You can use the same label printer and stickers used to print oil stickers.
Password Protecting Functions in Scheduler
In the Configuration module, select Configuration menu > Security > Security Levels > Scheduler.
Click the plus sign to see the functionality that can be password-protected in Scheduler. The list of functionality expands for each item.
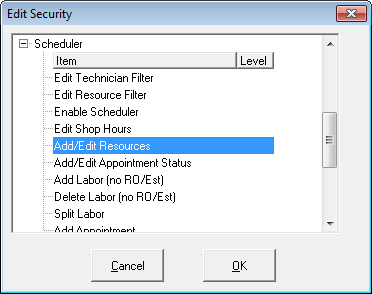
Select each item and enter the desired security level for that functionality from 0–9.
- 0 requires no password
- 5 (and higher) requires a password
- 9 requires a password and is the highest level of security