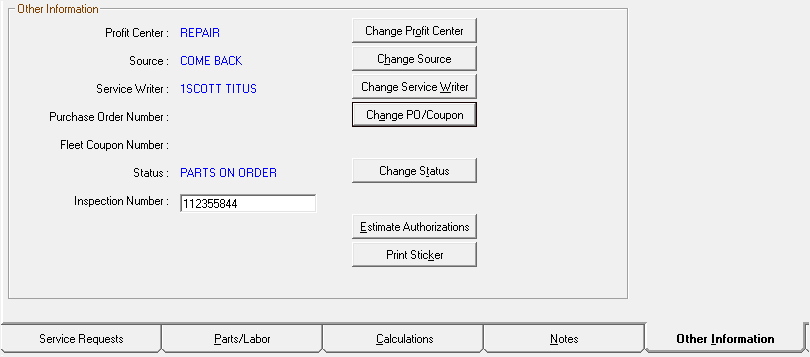
Other Information Tab
This tab contains general information about the ticket. You can change information such as the status, the source, and the service writer.
If the information was entered when the ticket was created, you can change it (and correct it) on this tab.
Change Profit Center
Click this button to add or edit the profit center. Select the appropriate center from the dropdown list.
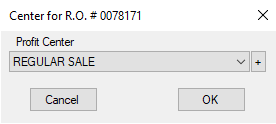
You create profit centers to organize your business into categories you define. You can track these categories on Sales Reports.
NOTE: This dropdown list contains the profit centers that have been added or edited in Configuration. Click  to add or edit profit centers in Configuration.
Change Source
Click this button to add or change the marketing source of the customer. Select the appropriate item from the dropdown list.
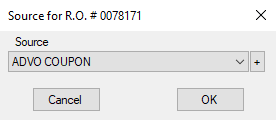
You can use these categories to track what attracts customers to your shop.
You can generate reports that tell you the number of sales generated by each source; see Revenues by Source and Revenues by Original Source.
NOTE: This dropdown list contains the sources that have been added or edited in Configuration. Click to add or edit sources in Configuration.
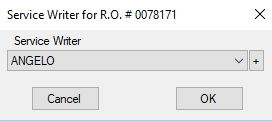
Change Service Writer
Click this button to add or change the service writer. Select the appropriate service writer from the dropdown list.
You can see revenue information by service writer in Sales Reports.
NOTE: This dropdown list contains the service writers that have been added or edited in Configuration. Click to add or edit service writers in Configuration.
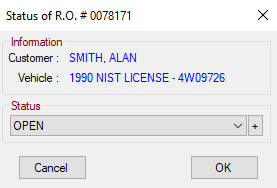
Change Status
Click this button to add or change the status of the ticket. Select the appropriate status from the dropdown list.
For details, click the following link: Changing the Ticket Status.
NOTE: This dropdown list contains the statuses that have been added or edited in Configuration. Click to add or edit statuses in Configuration.
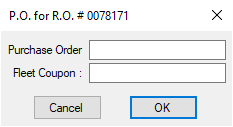
Change PO/Coupon
Click this button to add or change the Purchase Order Number and the Fleet Coupon Number.
Some customers require a purchase order from them for billing and payment purposes.
The Purchase Order and Fleet Coupon fields may also be used for fleet customers. For more information, click the following link: see Establishing Vehicle Fleets.
Estimate Authorizations
Click the Estimate Authorizations button to add or update estimate authorizations.
Print Sticker
Click the Print Sticker button to print an oil sticker. The Print Oil Sticker window opens.
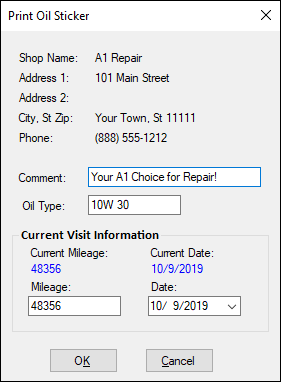
Check the information and click OK to print the oil sticker to your oil sticker printer.
For more information, click the following link: Printing Oil Stickers On Demand.
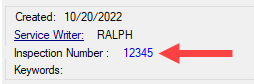
Inspection Number
You can enter an Inspection Number that is searchable in History just like the repair order number.
The Inspection Number appears in the information section of the Parts/Labor tab.