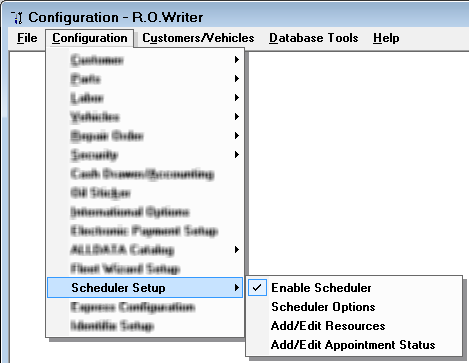
Clicking Configuration menu > Scheduler Setup.
This topic includes the Configuration settings on the Scheduler Setup menu. There are other areas of Configuration that need to be set for Scheduler. See Additional Scheduler Configuration.
Enabling Scheduler
Click Enable Scheduler to turn on the Scheduler program. On the main toolbar in R.O. Writer, the Scheduler button ![]() replaces the Calendar button
replaces the Calendar button ![]() .
.
Scheduler is also available as a standalone application that you can open from the Start menu in Windows 7: Start menu > All Programs > R.O. Writer > Scheduler. However, if you do open and operate the Scheduler as a standalone application, it does not integrate with estimates and repair orders.
Scheduler Options
Click Scheduler Options on the Scheduler Setup side to set your shop hours.
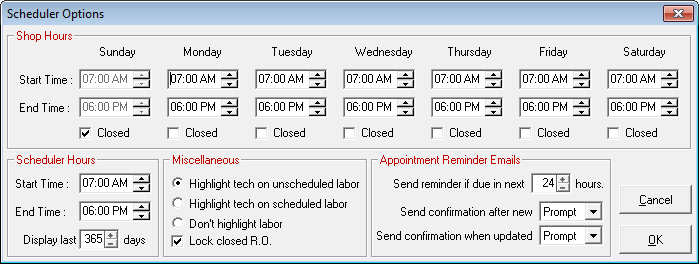
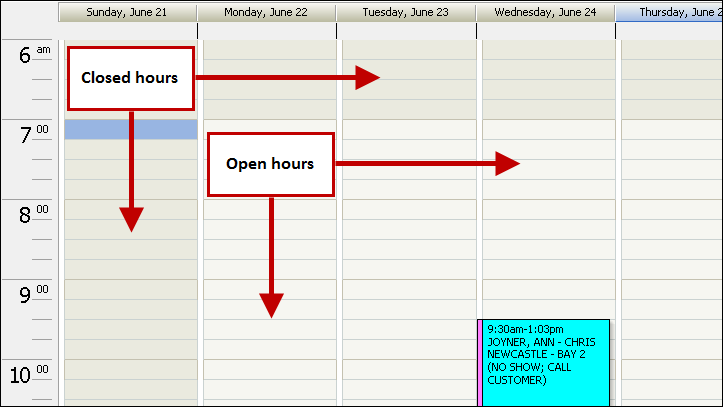
Shop Hours and Scheduler Hours
Open hours appear in light gray, closed hours are blocked out in dark gray.
You can set how many days you are able to view past appointments.
Miscellaneous
This table describes the options in the Miscellaneous section.
| Option | Description | |||||
|---|---|---|---|---|---|---|
|
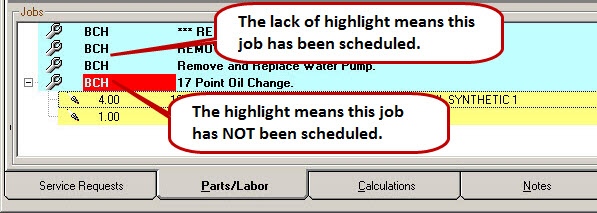
These options highlight the technician code on labor lines on the Parts/Labor Tab of estimates and repair orders based on whether or not that labor is scheduled. |
||||||
|
||||||
|
For example, if Highlight Tech on Unscheduled Labor is selected, the labor lines look like this:
|
||||||
|
Locked Closed R.O. |
Prevents you from updating appointments linked to closed repair orders. It is unchecked by default. |
Appointment Reminder Emails
This table describes the options in the Appointment Reminder Emails section. This section determines when reminder emails are sent.
| Options | Description |
|---|---|
|
Send Reminder if Due in Next |
Select the number of hours before an appointment to send an email reminder. Those reminders will not be sent unless the Send Reminders button |
|
Send Confirmation After New |
This option determines if confirmation emails are sent when new appointments are created. Select Always, Prompt, or Never. |
|
Send Confirmation When Updated |
This option determines if confirmation emails are sent when appointments are updated. Select Always, Prompt, or Never. |
 is selected in the Scheduler main toolbar.
For more information on sending appointment reminder emails, see Enhanced Email Functionality.
Add/Edit Resources
This menu item allows you to set up resources such as bays and/or specialized equipment. Select the resource in the dropdown list to edit.
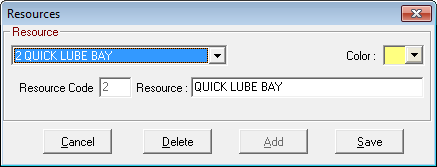
Click the Add button to add a new resource.
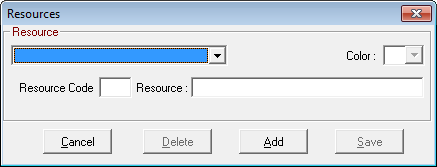
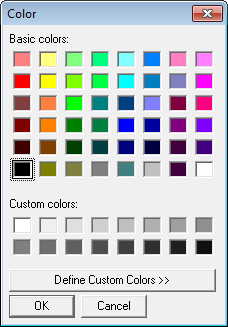
Enter a code and a resource name. In the Color dropdown list, select a color for the resource (technician). It’s important to choose distinct colors for resources and technicians that are easy to distinguish on the schedule.
Add/Edit Appointment Status
The fourth menu item, Add/Edit Appointment Status, allows you to set up statuses such as Finished or waiting.
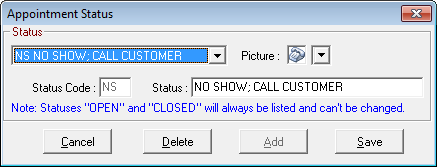
Select the status in the dropdown list to edit. Select Save to keep any changes you have made or select Delete to delete the status.
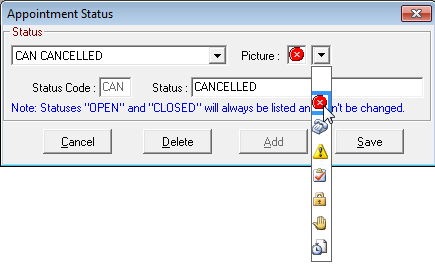
Click the Add button to add a new status.
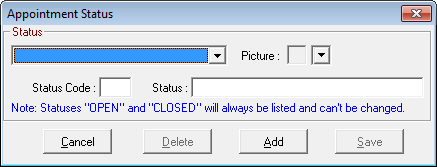
Enter a code and a status name. Selecting the dropdown list next to the picture will allow you to select an button that will display on the appointment along with the Status description.
When no status is selected for an appointment, the system will default to open and will change to closed when the appointment is linked to an estimate that is saved or a repair order that is finalized.
Additional Scheduler Configuration
After you have enabled and configured Scheduler on the Scheduler Setup menu, you need to set up shop hours, resources, and other items in Configuration that Scheduler uses.
Assigning Colors to Technicians
You will also need to edit your technicians to assign them colors for the scheduler. Select Configuration > Labor > Technicians.
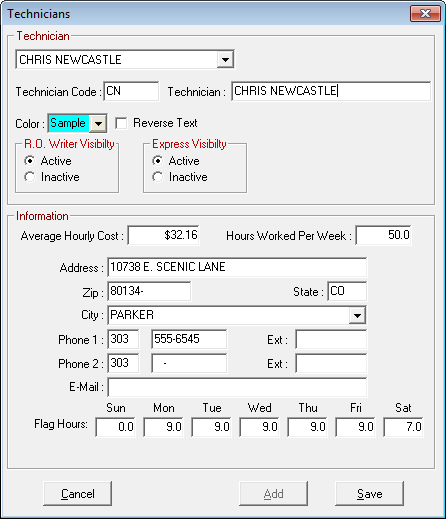
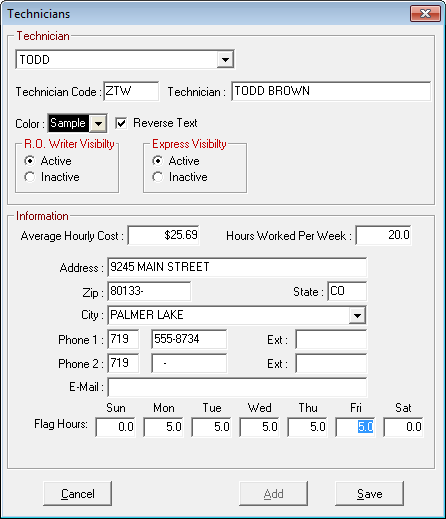
Select a technician in the list. Selecting the dropdown list next to color will allow you to select a color. It’s important to choose distinct colors for resources and technicians that will complement each other so they are easy to distinguish on the calendar.
Since the tech color is the color of the appointment and the details are defaulted in black letters, selecting Reverse Text Foreground Color will display the text in white letters instead. This is useful if you have selected a dark color.
Appointment in a light color and default black text: 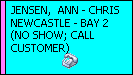
Appointment in a dark color and the text in white: 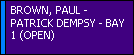
NOTE: Technicians marked as inactive do not appear on the Schedule.
Prompt to Create Future Appointments After Finalizing
You are able to have the system create a future appointment when you finalize a repair order. In the Configuration module, select Configuration > Repair Order > Required Entries > Finalize section > Schedule Appointment.
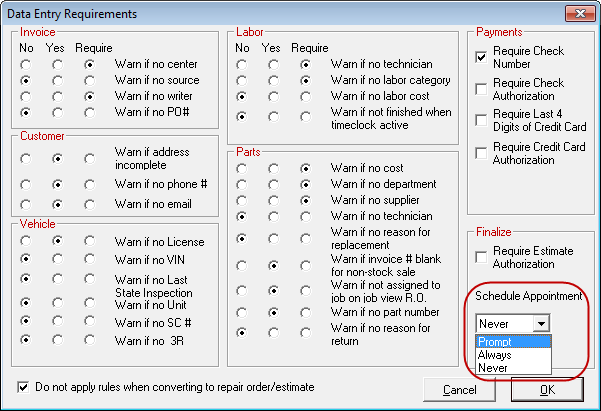
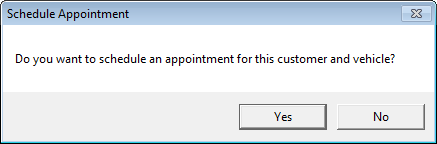
- If you select Prompt, you are prompted to schedule a future appointment.
- If you select Always, the system automatically opens a new appointment window.
- If you select Never, the system does not prompt you to create a future appointment or open a new appointment window.
Password Protection
In the Configuration module, select Configuration > Security > Security Levels > Scheduler.
Click on the plus sign to see the functionality that can be password-protected in Scheduler.
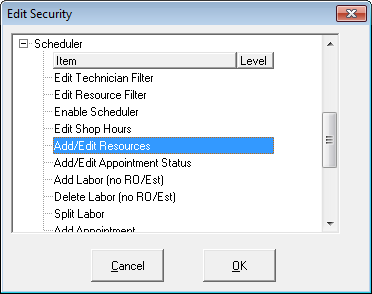
Select each item and enter the desired security level for that functionality from 0–9.
- 0 - requires no password
- 5 and above - requires a password
- 9 - requires a password and is the highest level of security
Printing Appointment Reminder Stickers
R.O. Writer has the functionality to be able to print appointment stickers for windshields to remind the customers of their next scheduled appointment. The same label printer and stickers used for the oil sticker are used.
See Oil Sticker for more information.
This section contains the following topics: