Inserting Information Into a Document
Text
There may be some information, such as the shop name and address, or a disclaimer that will be used in more than one document. Instead of typing the same information in each document, this information may be created once and saved, then used again in other documents. The first step would be to create a document with the desired information, and save the document. Instructions on creating and saving a document may be found in Creating a New Document.
NOTE: When editing letters with the Word Processor, don't delete all the text at the top of the letter making a data field the first thing. It will not let you insert anything above a data field that is the very top of the letter.
To insert text from a saved document, position the insertion point at the location in the document where the text is to be inserted. Select Insert, Text from the menu, and identify the file to be inserted.
Pictures
To insert an image from a saved file such as a company logo or letterhead, position the insertion point at the location in the document where the image is to be inserted. Select Insert, Image from the menu, and identify the file to be inserted. Picture formats that can be inserted are BMP (Windows Bitmap), TIF (Tagged Image Format), WMF (Windows Metafile). You will need to use a picture editing program to convert the file If the picture you want is in a different format such as JPG, or to re size the image if needed.
Data Fields
There may be instances when information pertaining to a customer or a vehicle is needed in a document, or perhaps a date. Instead of entering this information for each customer, data fields may be entered.
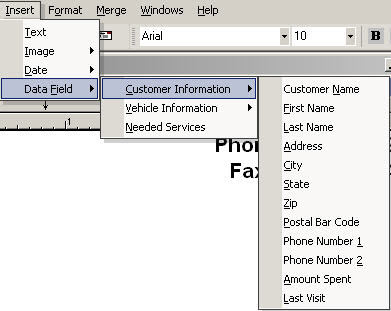
To enter a data field in a document, position the insertion point at the location in the document where the field is to be inserted. Select Insert, Date from the menu, and identify the format of the date that is desired.
To insert other data fields, position the insertion point at the location in the document where the field is to be inserted, select Insert > Data Field from the menu, and identify which data field is to be entered.
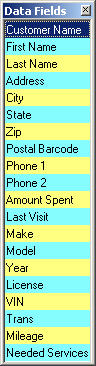
Data fields may also be entered by positioning the insertion point at the location in the document where the field is to be inserted, and double clicking on the desired field from the data field window displayed at the right side of the document.
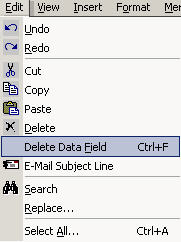
When entered in a document, a data field can only be removed by selecting Edit, Delete Data Field from the menu.
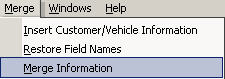
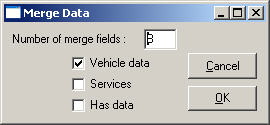
The Word Processor can lose track of the number of data fields when adding or deleting data fields. This can be the reason all merge fields are not printing or getting an error when printing the letter. To verify the number of fields is correct, count the total number of data fields. Select Merge > Merge Information and ensure the number of merge fields is correct. If it is not, enter the correct number you counted and click OK.
Select from the options below for more information: