Finalizing Repair Orders
When the repairs on a vehicle have been completed, and the customer arrives to claim the vehicle, it is time to process the final payment, and provide the customer with an invoice for the completed work.
Please watch the quick video below to learn about finalizing repair orders.
NOTE: You can make multiple payments on the finalize window; however, the full Balance Due must be paid before you can finalize it. Until the Balance Due is zero, the Finalize button is grayed out.
Finalizing Repair Orders
Below is the basic finalize process. The finalize process is highly configurable. You may be prompted for required information and confirmation during finalize.
To Finalize Repair Orders
Complete these steps:
- Open the repair order.
- Click the Finalize button
 in the repair order toolbar.
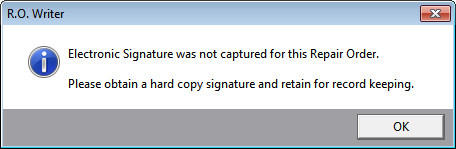
 - At this point, you may be prompted to correct information in the repair order. If so, the following warning appears:
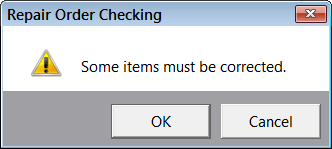
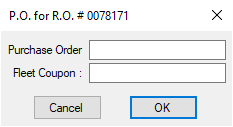
- Depending on your configuration settings, you may be prompted to enter or verify information. Answer all prompts correctly.
- The Finalize payment window appears displaying the customer’s name, the repair order number, and today’s date in the title bar.
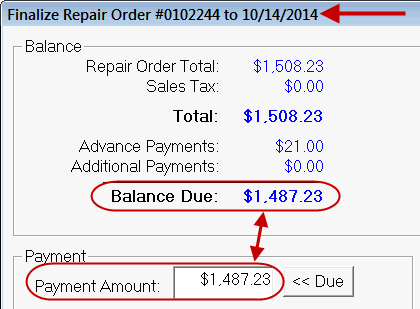
- Pay the remaining balance. (Make sure that the amount in the Payment Amount matches the Balance Due amount at the top of the screen.)
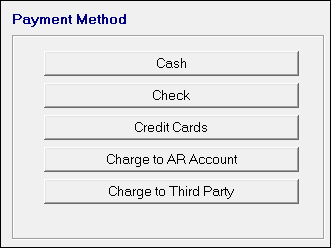
- Choose a payment method. (For details, click the following link: Choosing a Payment Method.)
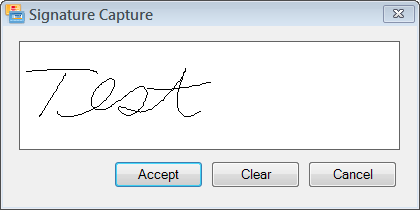
Electronic payment processing often prompts you for a signature to validate the payment.
- After the payment has been processed and the balance is zero, you can click the Finalize button. (The Finalize button is inactive until the Balance Due is zero.)
- If prompted for the customer’s signature, it means that the customer is approving the repair order itself in addition to the payment.
- You can capture the signature
Electronically on a connected device. The captured signature appears on the printed repair order.
Physically on the printed repair order.
- R.O. Writer prompts you to print a repair order. Click Yes to print the repair order
- The Finalize payment window closes. The repair order
- Is removed from the Work in Progress (WIP) Window.
- Status is changed to Closed.
- Is moved to History.
- Depending on your configuration settings, you may be prompted to perform certain actions on closing. Complete those actions as required by your business process.
- You are prompted to print a customer invoice. The payment and electronic signature are included in the printed customer invoice.
Finalize Payment Window
Like most windows in R.O. Writer, the Finalize payment window is highly configurable. Different options and buttons appear depending on your selections in
- The Configuration module
- Customer records and accounts
- Payment methods for your system

Balance Section
This section displays the totals, subtotals, taxes, discounts, and advanced payments already processed for the repair order.
The Taxes and Fees Configuration setting allows you to
Payment Section
The Payment field displays the amount of the payment. When the Finalize window first opens, it automatically displays the Balance Due amount.
- You can type in whatever amount you want to pay.
- If you are paying cash, you can enter the amount the customer gives you in this field and the Change Due amount appears in the Balance section.
- If you type in the numbers and then press the minus key (-) on the keyboard, the amount changes to a negative amount and appears in parentheses.
- The Due button always resets the amount in the Payment Amount field to the Balance Die amount.
Payment Method Section
This section includes a button for each payment method that is available for the current customer and repair order. For details, click the following link: Choosing a Payment Method.
Payments Section
All payments made on the repair order appear in this section.
- You can make multiple payments on the same repair order.
- Canceled manual payments disappear from this section and voided electronic payments appear in parentheses to indicate that it is a negative amount.
- Payment information is not considered final until the Finalize button is clicked.
Cancel Button
Clicking Cancel closes the payment window. In addition, clicking Cancel deletes any manual payments made before the Finalize button is clicked.
Preview Invoice Button
Click this button to see a preview of the repair order without the payment information. Payment information is not considered final until the Finalize button is clicked and therefore would not appear on a preview.
"Invoice" means the invoice you give to the customer, which is the printed repair order.
Void ePayment Button
Electronic payments must be voided and cannot be canceled. Voiding an electronic payment creates a reverse entry, effectively canceling the amount paid. For details, click the following link: Voiding Electronic Payments .
Finalize Button
The Finalize button is inactive until the Balance Due is zero. When it is active, click this button to finalize the repair order.
You are prompted to obtain an electronic signature on an external device if
- The customer paid with cash, check, credit card, or debit card and
- The Capture and Save Electronic Signatures During Finalize option is selected in Configuration (Configuration menu > Electronic Payment Setup)
Finalize Prompts
Depending on the R.O. Writer Configuration settings, you may be prompted to enter, verify, or validate information about the repair when the Finalize toolbar button is clicked.
| Depending on the Configuration setting, | You may be prompted the enter or select the following item: |
|---|---|
|
Close date
|
|
|
Mileage out
|
|
|
Various invoice items:
|
|
|
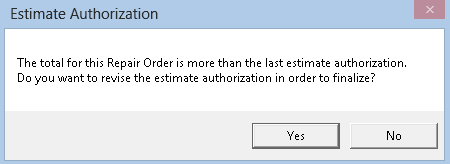
This warning appears if the current payment amount does not match the last amount authorized.
|


Post-Finalize Prompts
Depending on your Configurations settings, any of the following may happen after you click the Finalize button:
- If the repair order includes labor that requires an oil sticker, either you are prompted to print an oil sticker or an oil sticker prints automatically.
- If the finalized repair order is the first one to be finalized for the month, R.O. Writer updates some statistics, which may take some time. A message appears to let you know that R.O. Writer is processing the information.
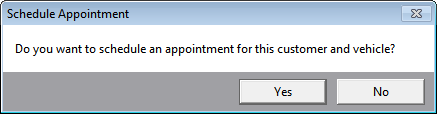
- If you use Scheduler, you can configure it to
Prompt you to schedule another appointment for the customer. If so, the following prompt appears:
- Always schedule another appointment for the customer, If so, Scheduler opens a new appointment for the customer.